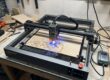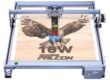
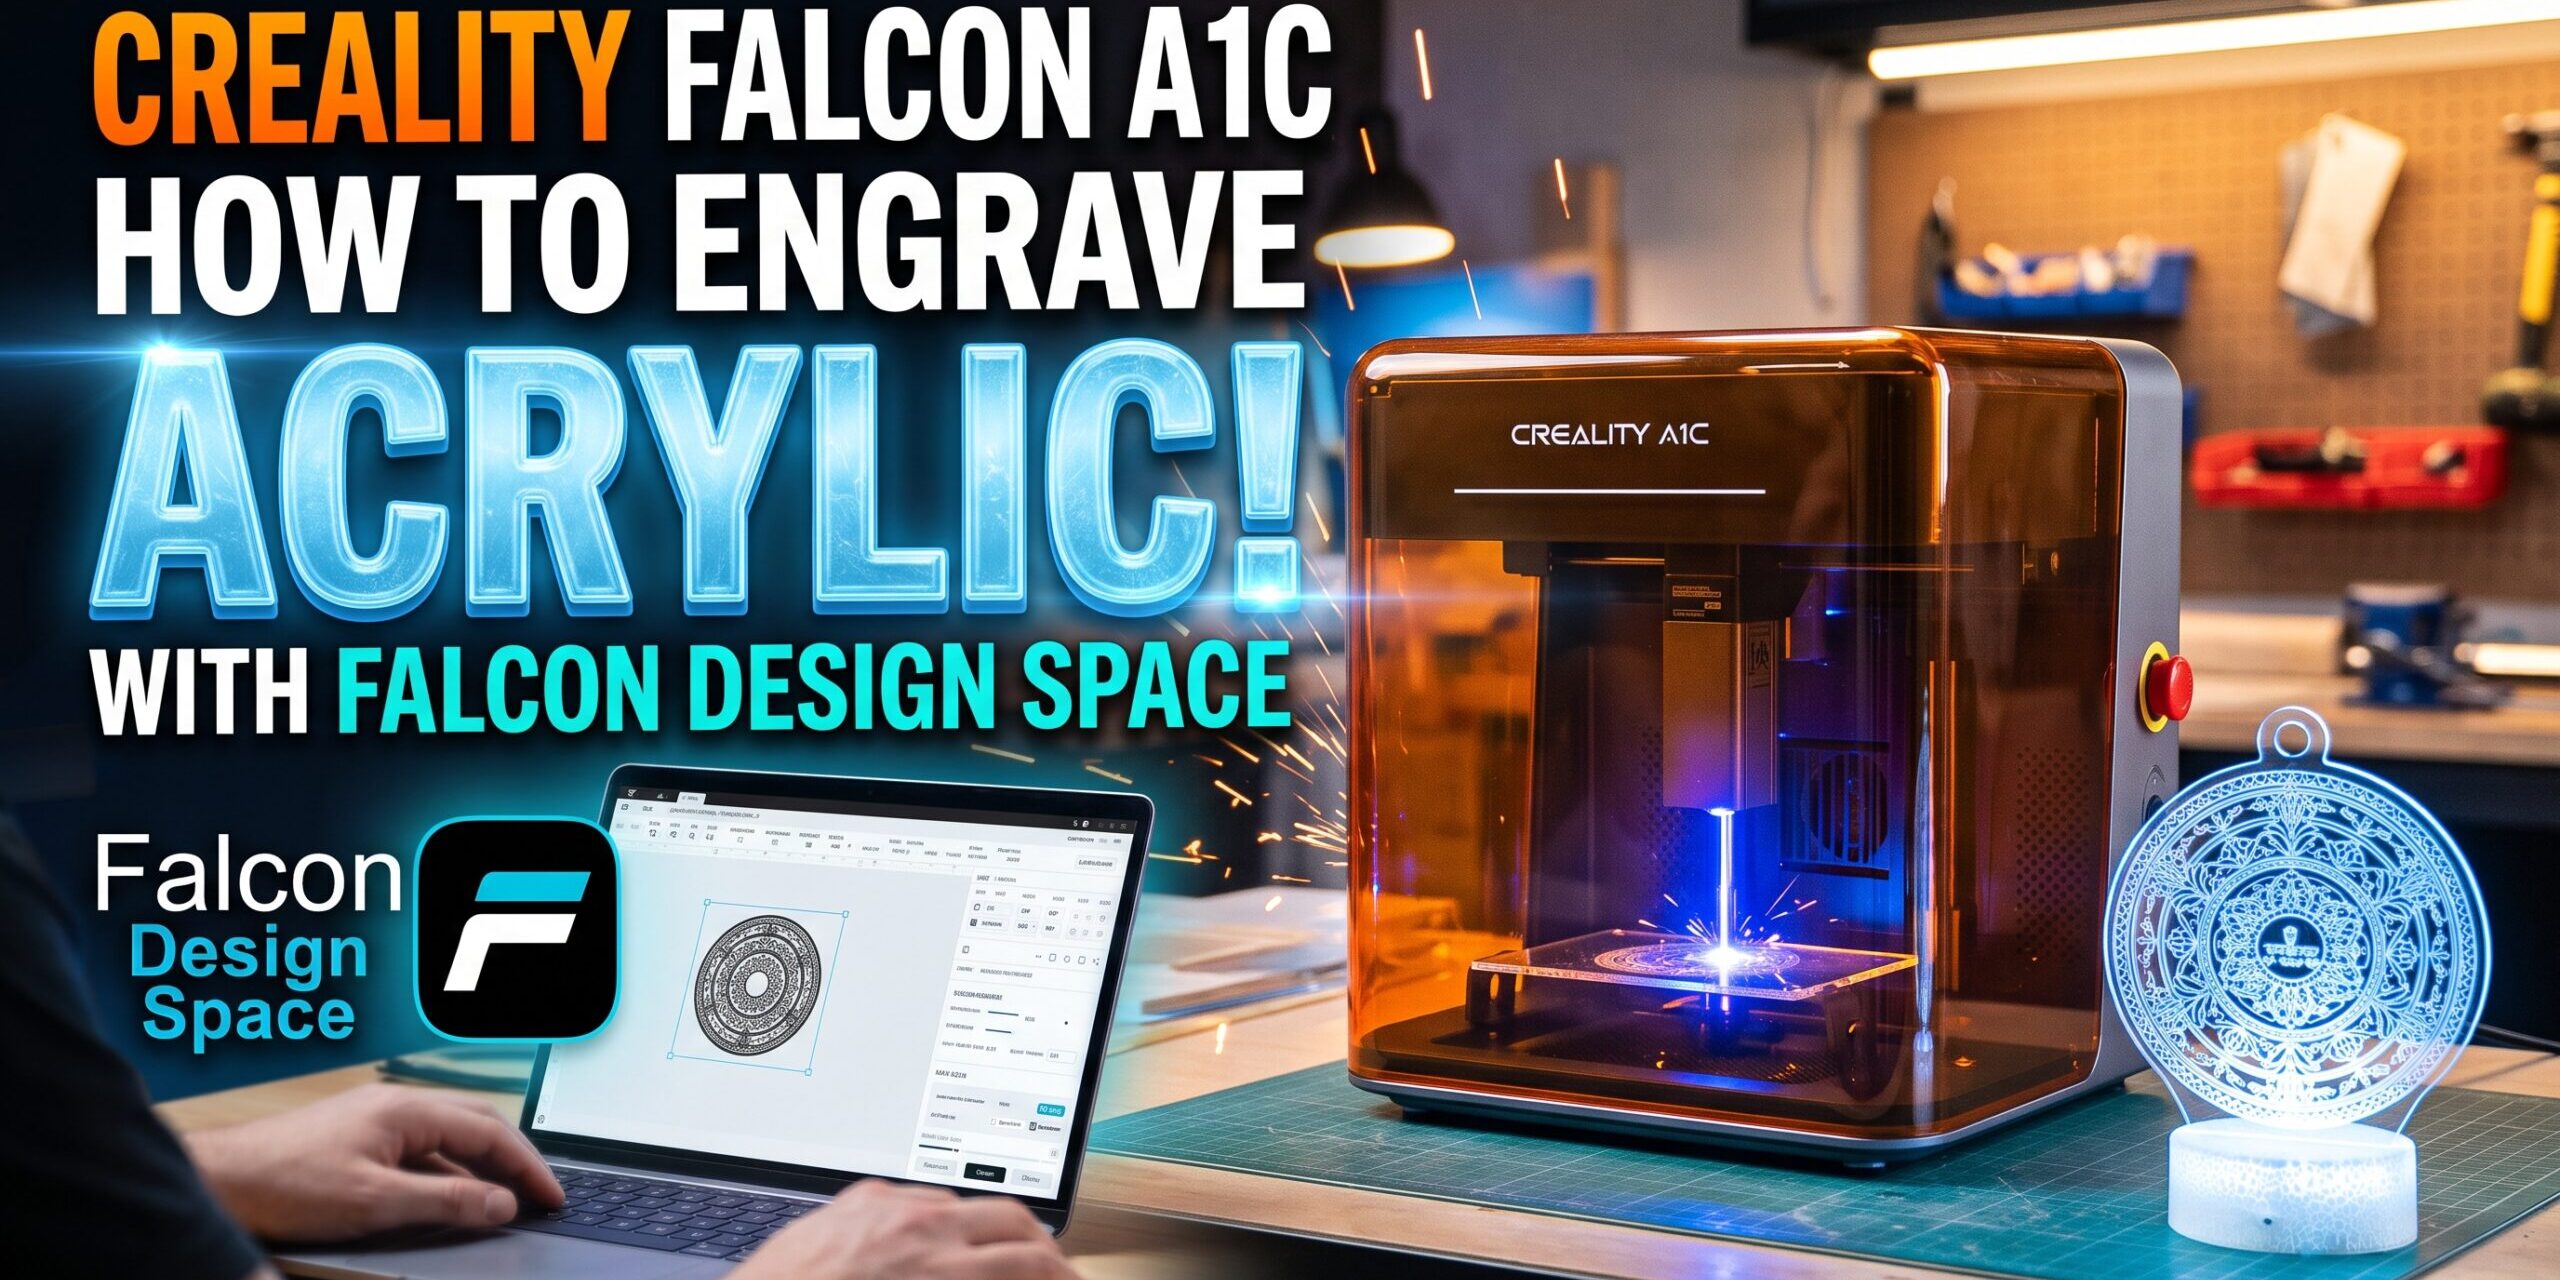
Working with acrylic can take your laser projects from standard maker crafts to high-end, professional-grade signs, custom edge-lit LED displays, and polished gifts. The Creality Falcon A1C brings smart auto-focus, camera alignment, and Class 1 enclosure safety directly to your workbench, making acrylic processing much more approachable.
If you prefer to follow along visually, check out our full step-by-step walk-through in the companion video:
Watch the Tutorial:
Understanding Diode Lasers & Acrylic Types
Before firing up the Falcon A1C, choosing the right acrylic stock is crucial:
- Cast vs. Extruded Acrylic: Always choose cast acrylic for engraving. It vaporizes into a crisp, frosted white contrast that lights up vibrantly. Extruded acrylic tends to melt gummy edges and engrave unevenly.
- Color Absorption Matters: Diode lasers (typically 455 nm blue light) pass right through 100% transparent/clear acrylic without marking it. For standard diode setups, stick to opaque black, dark colors, or frosted acrylic.
- Working with Clear Acrylic: If you are engraving clear acrylic sheets on a diode machine, apply laser-marking paper, black tempera paint, or dark masking tape to the surface so the beam can transfer heat effectively into the sheet.
- Safety First: Acrylic (PMMA) produces a distinctive sweet, pungent vapor. Always run the integrated exhaust or connected air purifier, keep the lid closed, and never laser unknown plastics like PVC or vinyl.
Step 1: Prep Your Workspace & Material
- Secure the Sheet: Place your acrylic blank flat on the honeycomb bed or blade risers. If using thin stock that bows slightly, use the Falcon flexible fixtures or hold-down pins to keep it completely level.
- Leave or Replace Masking: Keep the protective paper or film on the back to avoid reflection and smoke residue. For the top surface, laser-safe paper masking prevents surface fogging and scorch marks around fine lines.
- Auto-Focus: Run the A1C True Auto Focus routine to calibrate the focal height accurately for your sheet thickness.
Step 2: Set Up in Falcon Design Space
- Camera Capture & Alignment: Use the built-in HD camera feed in Falcon Design Space to overlay your artwork directly over the sheet.
- Invert for Edge-Lit Acrylic: If you are creating an acrylic sign or LED nightlight base, mirror/flip your graphic horizontally and engrave on the back of the sheet. The front face remains perfectly smooth and glossy while catching light from behind.
- Separate Layers: Assign your engraving artwork to a raster fill layer and perimeter cut lines to a vector path layer.
Step 3: Recommended Starting Parameters
Settings vary depending on laser module wattage (5W vs. 10W) and acrylic brand. Always run a small test matrix on scrap material first.
| Operation | Material | Module | Speed (mm/min) | Power (%) | Passes |
| Engraving | 3mm Black/Dark Cast Acrylic | 10W Diode | 4,000 – 5,000 | 50% – 60% | 1 |
| Engraving | 3mm Black/Dark Cast Acrylic | 5W Diode | 3,000 – 3,500 | 80% – 90% | 1 |
| Vector Cutting | 3mm Dark Opaque Acrylic | 10W Diode | 200 – 250 | 90% – 100% | 2 – 3 |
Pro Tip on Air Assist: While high air assist is essential for clean wood cuts, dialed-back, light airflow works best for cutting acrylic to preserve smooth, flame-polished edges without over-cooling the kerf.
Step 4: Post-Processing & Finishing
- Cool Down: Let the part rest inside the chamber for 30 seconds after the cycle ends to allow vapor extraction to clear the box.
- Peel Masking: Remove the masking tape. For tight detailed letters, apply a piece of blue painter’s tape or duct tape over the surface and pull quickly to lift small masking islands in seconds.
- Cleaning: Wipe away fine dust with a microfiber cloth and a mild soapy water solution or dedicated plastic cleaner (avoid high-concentration alcohol or acetone, which causes acrylic to craze and crack).