Why Is Cutting Plywood with a Laser So Unforgiving?
If you’ve spent any time working with CO2 or diode lasers, you’ve likely encountered this scenario: you set up your laser cutter with the exact same power and speed settings that worked perfectly yesterday on a sheet of 1/8″ Baltic birch plywood, press Start, and walk away expecting clean cuts.
Instead, you end up with charred edges, uncut patches, and a project that requires a utility knife to pry free from the wasteboard.
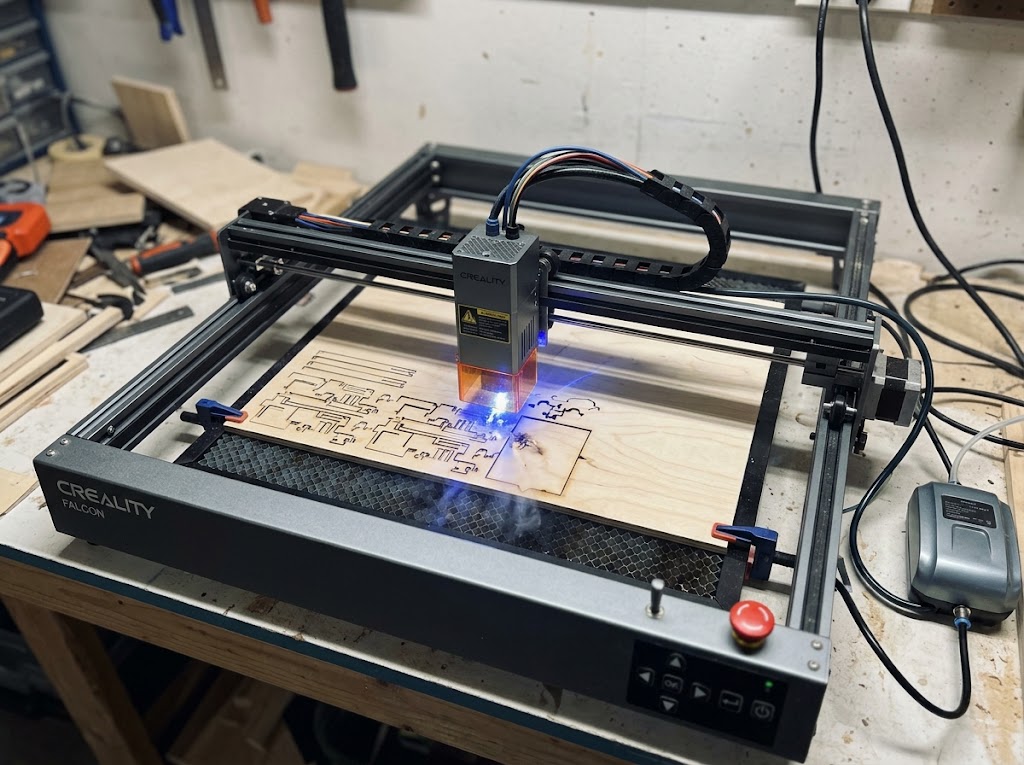
Why is plywood such a challenging material to cut consistently, and why does it feel like a moving target every single time? The answer lies in how plywood is made and the hidden variables trapped inside every sheet.
1. The Invisible Enemy: Glue and Adhesives
Solid wood consists purely of organic fibers. Plywood, on the other hand, is a sandwich of thin wood veneers bound together by heavy industrial adhesives.
┌─────────────────────────────────────────┐  Veneer Layer (Wood)
├─────────────────────────────────────────┤  GLUE LINE (Laser Obstacle)
├─────────────────────────────────────────┤  Core Veneer (Cross-Grain)
├─────────────────────────────────────────┤  GLUE LINE (Laser Obstacle)
└─────────────────────────────────────────┘  Veneer Layer (Wood)
Lasers cut wood through thermo-chemical decomposition (vaporizing the wood fibers using extreme heat). However, synthetic glues—especially moisture-resistant or exterior-grade resins like melamine or phenolic glue—react very differently to high temperatures:
- High Heat Resistance: Glues absorb laser energy and char rather than cleanly vaporizing.
- Uneven Distribution: Adhesive layers inside plywood are rarely applied with perfect uniformity. An area with a thick pocket of glue acts like a shield against the beam, leaving you with localized “uncut” spots.
2. Hidden Voids, Knots, and Core Fillers
When you look at a sheet of plywood, you only see the outer decorative veneers. What lies inside the core layers is often a mystery.
- Internal Voids: Construction-grade or cheaper craft plywoods frequently have air gaps in the interior plies. When the focused laser beam encounters a void, the focal point loses intensity, causing incomplete cuts on the bottom layer.
- Hidden Knots and Plug Fills: Plywood manufacturers patch inner plies using dense wood plugs or filler resins. If your laser beam passes over a hidden knot beneath the surface, it encounters double or triple the density of standard wood fiber, halting the cut cold.
3. Alternating Grain Directions
Plywood gets its structural strength from cross-banding—layering adjacent veneers so their wood grains run perpendicular (90 degrees) to each other.
While this prevents warping and splitting, it creates a variable cutting surface for light:
- Cutting with the grain requires less laser power as the beam burns along the natural fiber channels.
- Cutting across the grain demands significantly more energy to break through dense fiber walls.
Because the laser traverses both grain orientations continuously during a single job, depth-of-cut consistency naturally suffers.
4. Density Variations and Moisture Content
No two trees are identical, which means no two sheets of plywood share the exact same physical makeup:
| Variable | How It Affects Your Cut |
| Moisture Content | Ambient humidity causes wood to absorb moisture. Water absorbs laser energy, converting light into steam rather than burning wood fiber. |
| Growth Density | Springwood (faster growth, lower density) vaporizes quickly, while summerwood (denser grain) requires more dwell time. |
| Storage & Warping | Even a slight warp alters the precise distance between the laser lens and the material surface, throwing off the focal spot size. |
How to Get Consistent Results with Plywood
While you can’t change the laws of physics, you can take steps to minimize cut failures:
- Use Laser-Grade Plywood: Specially labeled “laser plywood” uses interior-grade soy- or urea-based glues that vaporize easily without excessive charring.
- Inspect the Core: Look for birch or basswood plywood with an exterior/interior grade rating of B/BB or higher to minimize internal voids.
- Use High-Pressure Air Assist: Air assist clears smoke and charred debris out of the kerf, allowing the laser beam to reach the bottom layer efficiently.
- Run a Test Matrix: Never assume last week’s settings will work on a new batch of wood. Run a quick power/speed test strip on scrap pieces from the same sheet before launching your main project.