Items Needed (Any Brand will work)
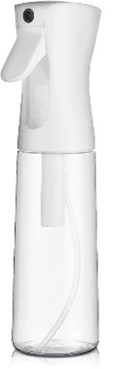 | 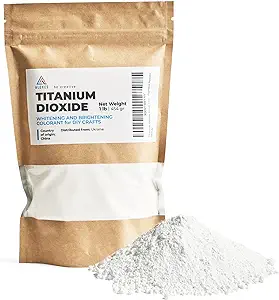 |  | 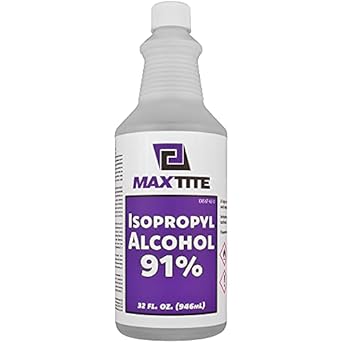 |
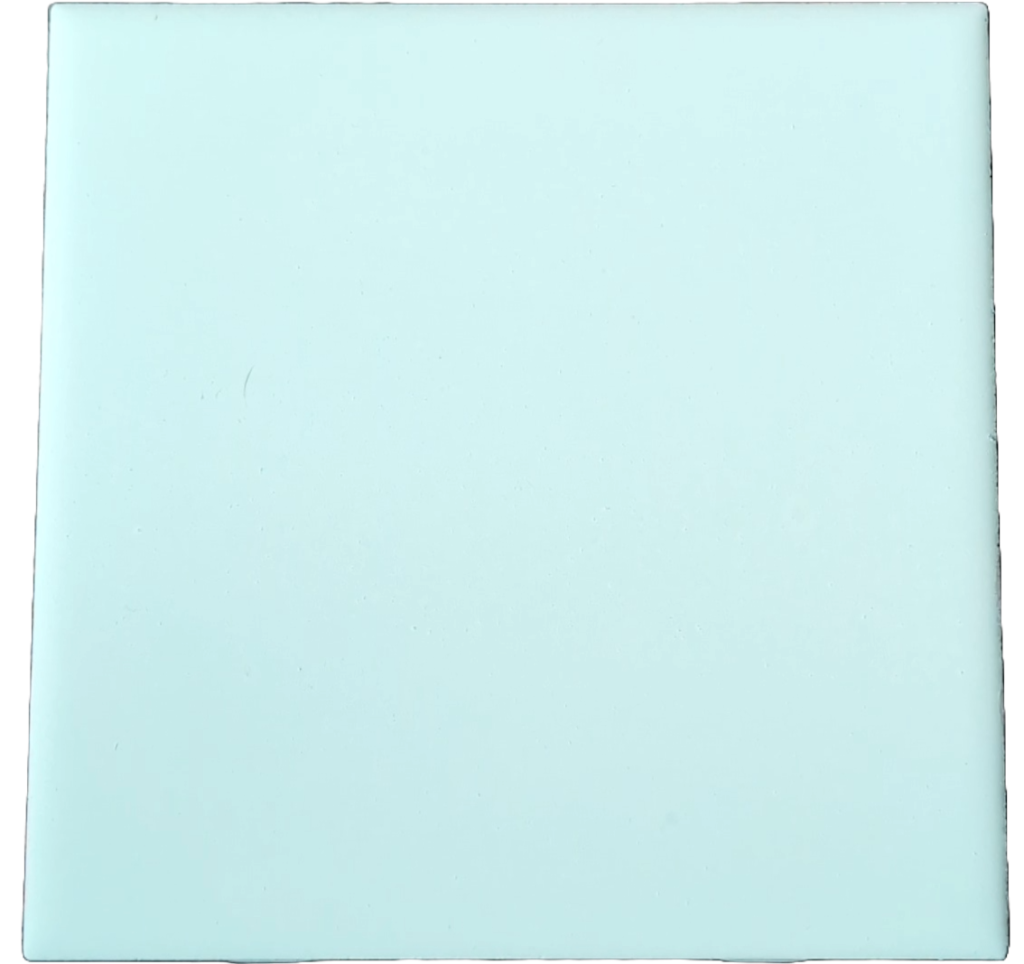
| Continuous Spray Bottle | TI02 Powder | White tile | Isopropyl Alcohol 91% |
 |  |  |  |
| Green food coloring | Mask | Eye Protection | Gloves |
Mixture
Use mask, Gloves and eye protection when mixing. The TI02 is a fine powder and you really don’t want to breath it in. Make sure you have cardboard down or in a workspace you don’t care about as the TI02 will make things white.
Going to mix this in spray Bottle.
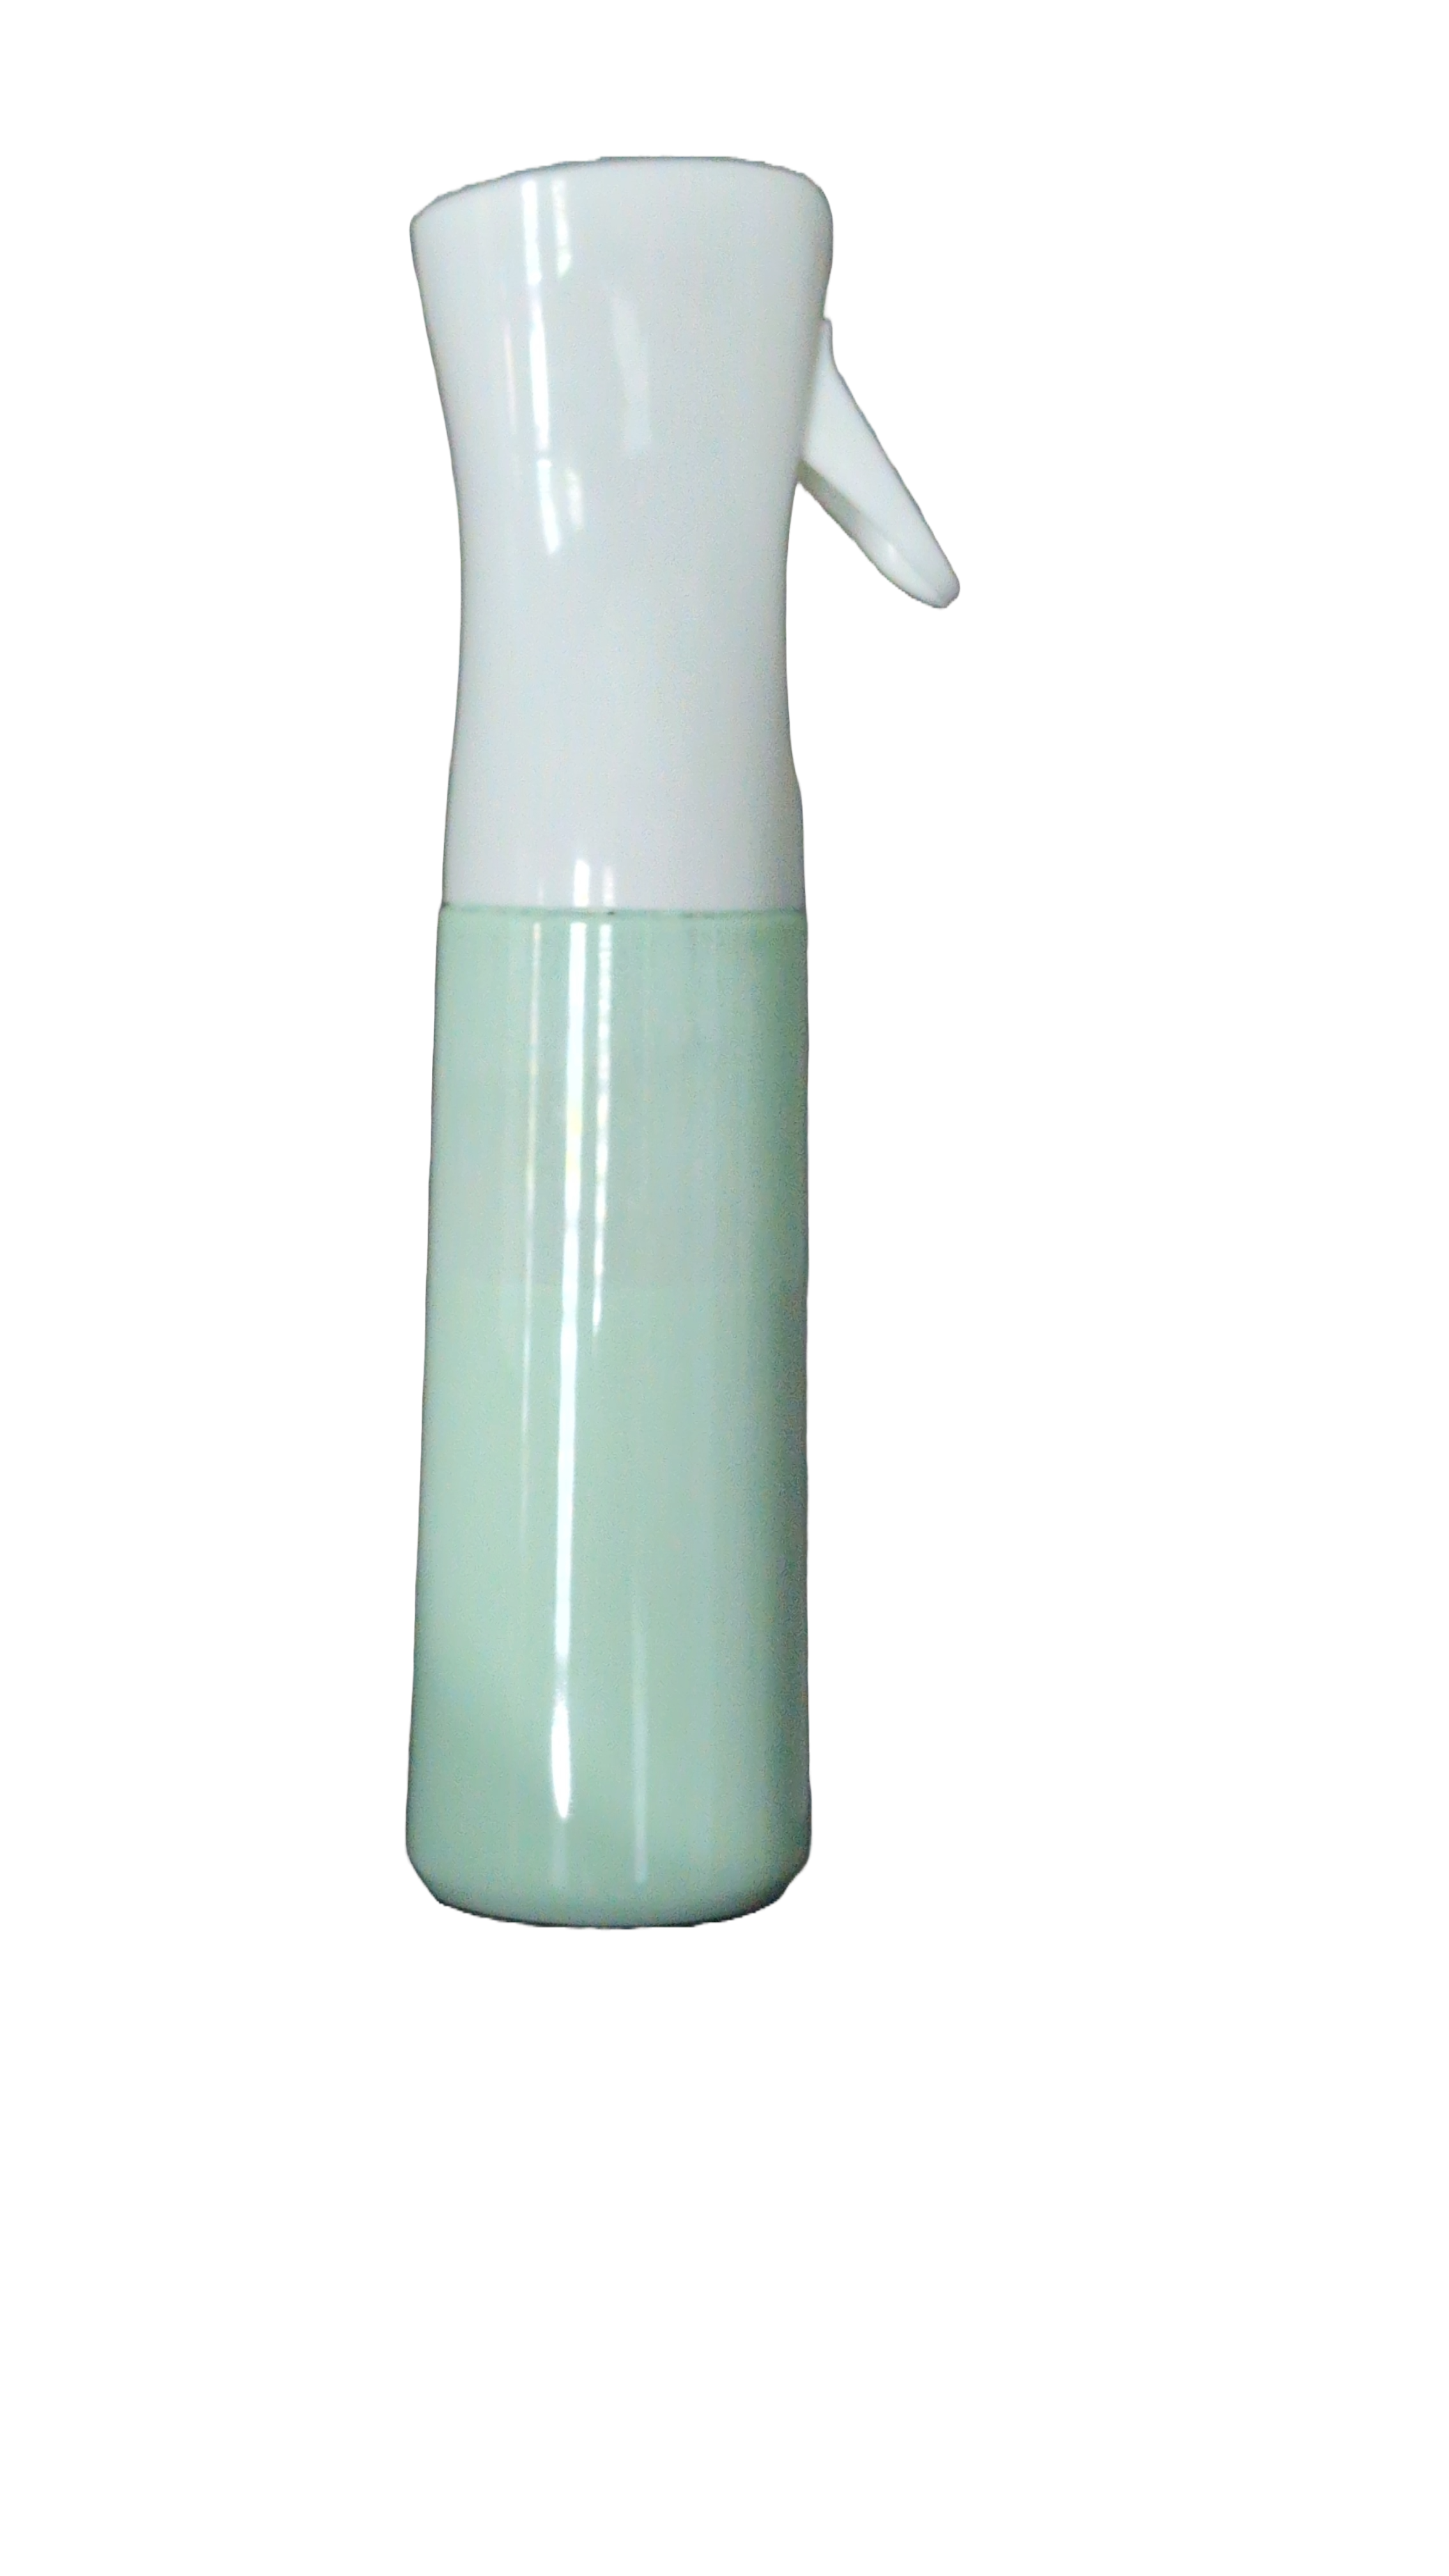 | 8 oz of 91% Alcohol
2 oz of TI02
Few drops of green food coloring (Helps see the tile get covered).
Close Lid and Shake well |
Clean Tiles
Before you start you need to clean the tiles. Clean with the alcohol or you can use paint thinner or mineral spirits.
Spray
You’re going to Spray 2 coats evenly on the tiles. Start from top to bottom and start spraying before the tile and go side to side. Let 1st coat dry (time depends on area). You can use a hair dryer or leave in sun. After it dries, do a second coat going top to bottom. With the green food coloring you tile should be easy to tell it got coated.
Process File Imag-R
1. There are numerous methods available for file processing; however, this particular approach appears to be quite straightforward to me.
Goto Imag-r.com
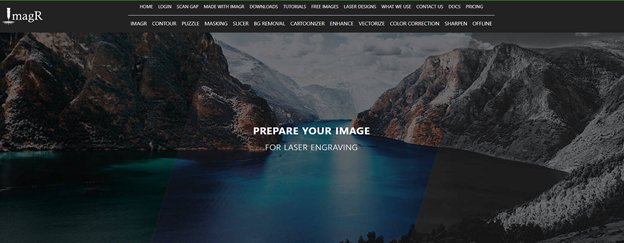
Scroll down some till you see all your controls.

Make note as this is where all the buttons are you will need to start with.
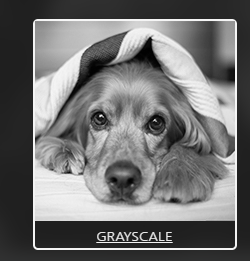
Select Upload box. Choose Grayscale. Choose your picture you want to use. Be patient as it may take a second to do something.

Scroll down and image should be loaded
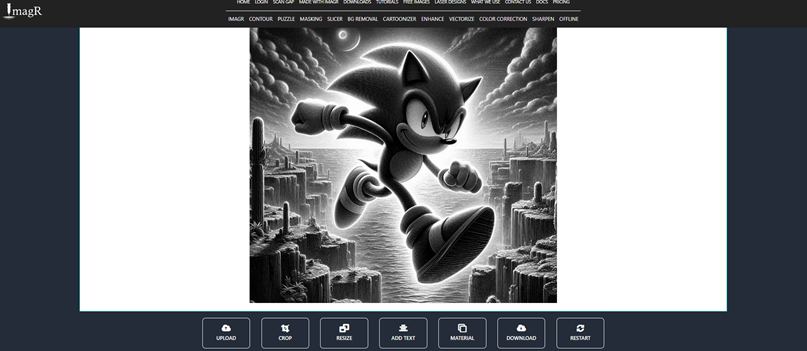
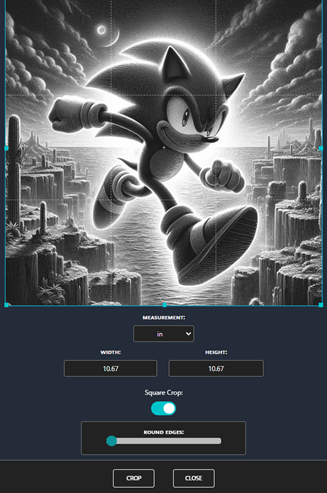
Crop image to square or rectangle to match tile.
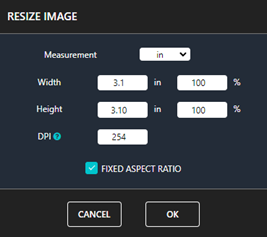
Resize Image. Make sure you put the right size here as this is very important. I’m using 6 inch tiles so I will choose Inches for measurements and change height and width to 6.1 inches. This gives me a little overlap. DPI – Most Falcons like 254 so I would suggest to try that 1st. You can always do a DPI test and see what works best for you.
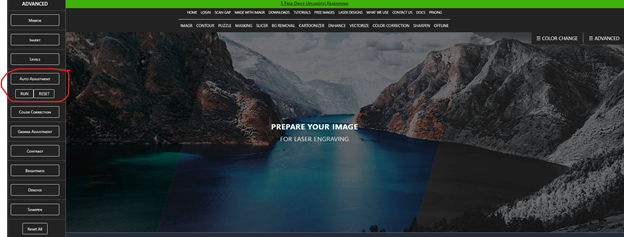
On left side of screen you will see bunch of options. I use Auto Adjustment myself and seems to work great. Click Run and let it do its magic.
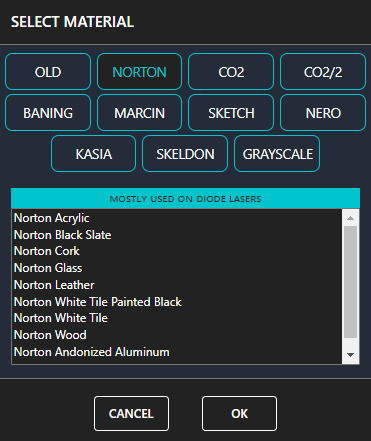
Material button. We are going to select Norton, then Norton White Tile and click OK
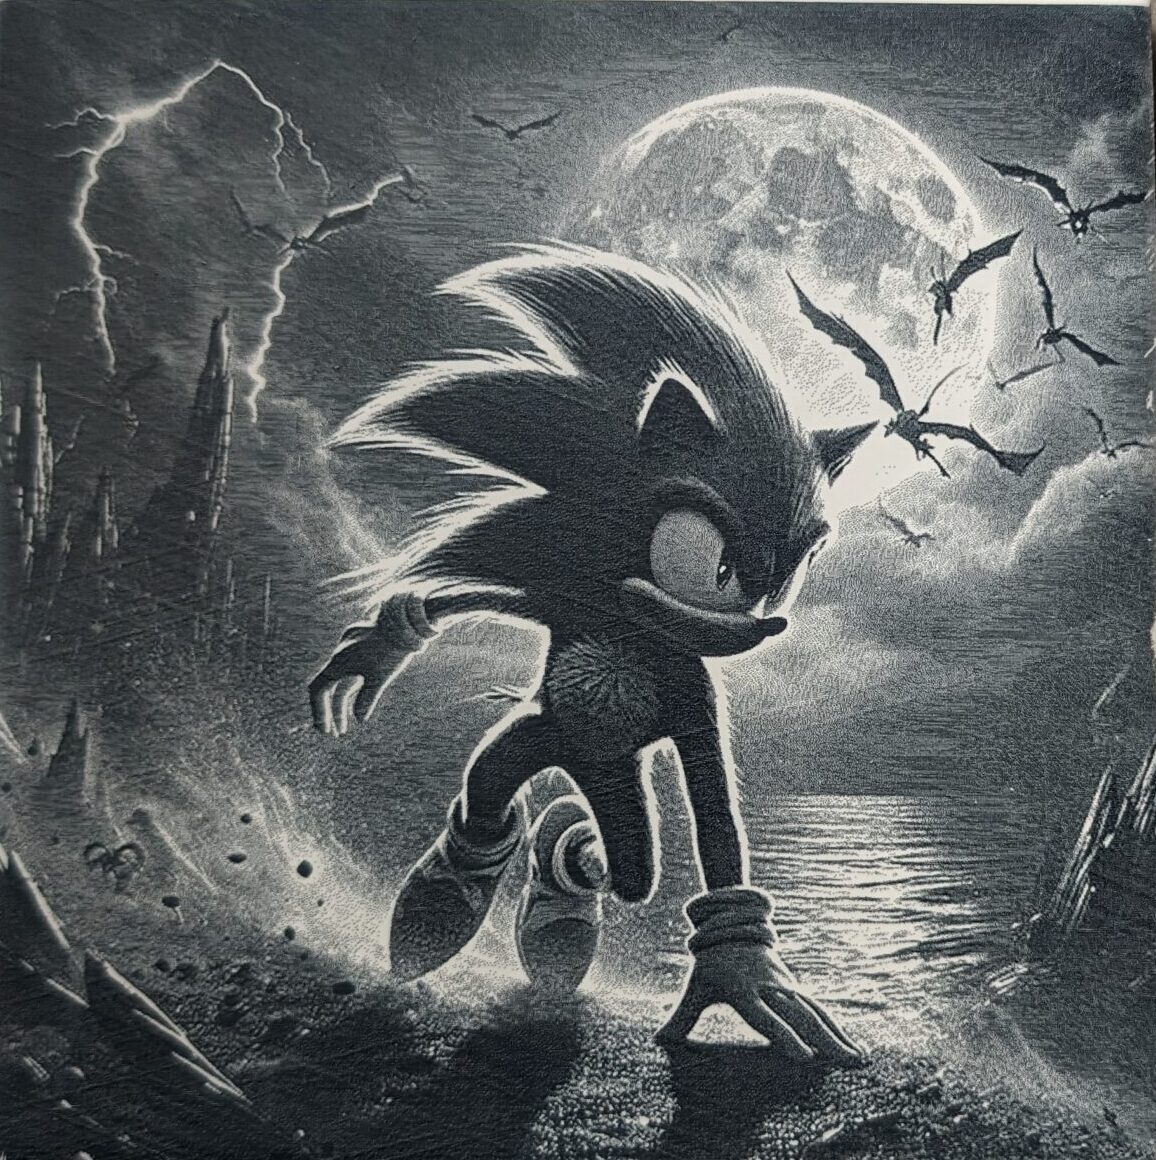
NOTE. If you look at the image now, it will look all grainy. This is what it’s supposed to look like.

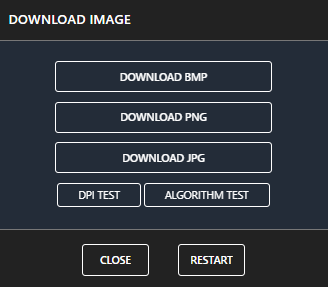
Time to download. That’s right, click the download button and choose PNG.

Time to move over to Lightburn
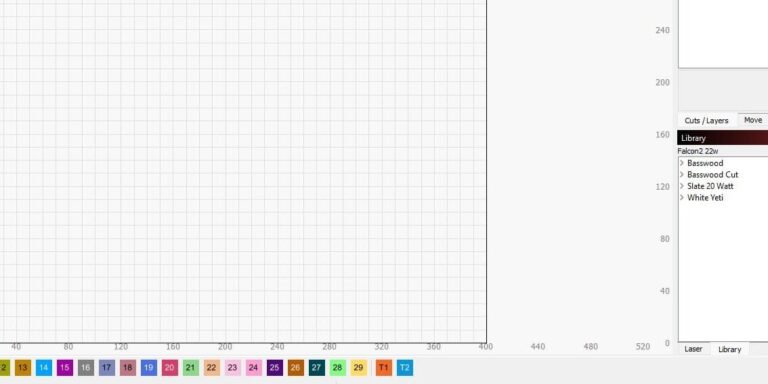
Lightburn
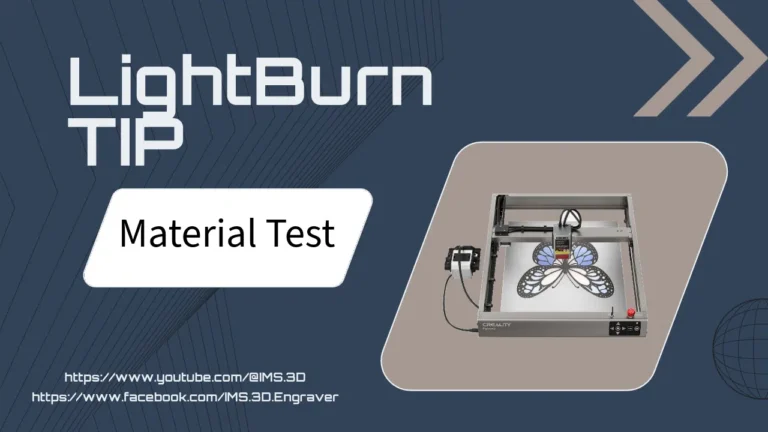
First thing you do is run a material test. If you have not done one or know how to do one, Click Here or Here
Import Image into Lightburn. On top click file – Import and select the file you downloaded
Whatever you do don’t resize image here. It will mess up your Imag-r setting.
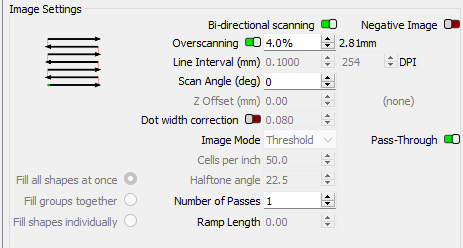
In cuts / layers, click it to open window. Add Speed and Power from material test that works best for your image. Turn on Overscaning 2.5 – 5 works great. Make sure Pass-Though is selected.
That’s it! Frame it and send it.
Once the task is completed, simply rinse with water and, if desired, a bit of soap, and you are ready to proceed. Additionally, you may apply a clear coat if you wish.
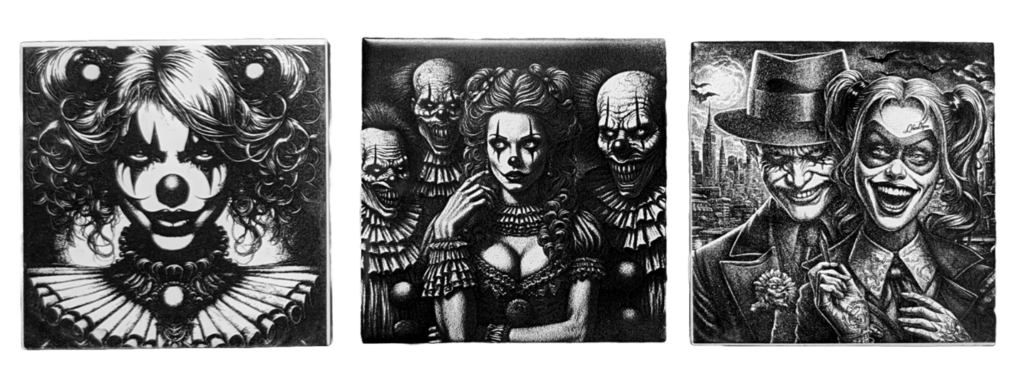
Please be advised that for a straightforward image that is outlined as illustrated below, there is no need for Imag-r. Simply adjust your power and speed settings based on the darkest results obtained from the material test.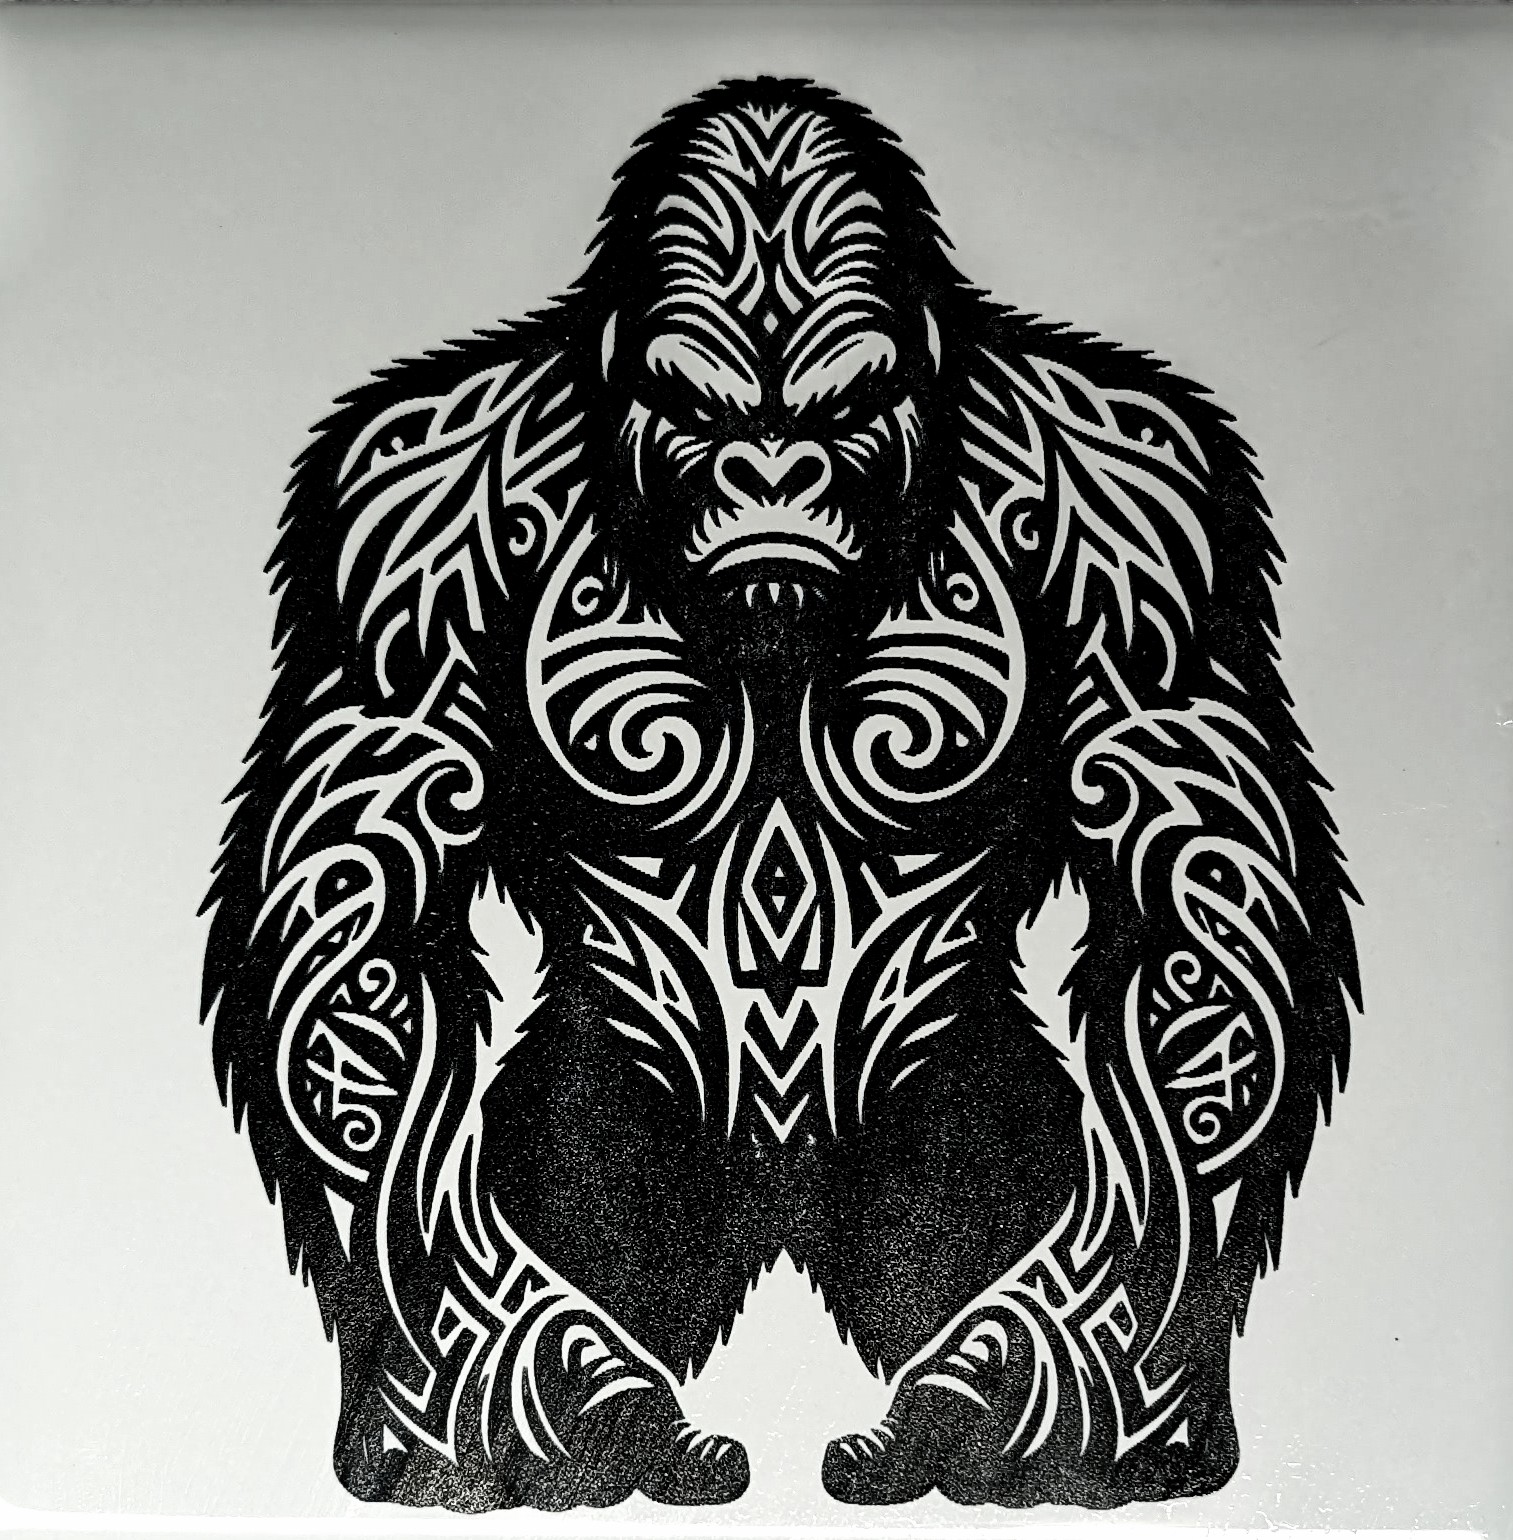
Good Luck and Happy Making!!