Why Material Tests Are Important for Laser Engraving
Before diving into the steps, let’s talk about why material testing is so important. Each type of material reacts differently to laser power and speed. For example, wood, acrylic, and leather all have unique properties that affect how they engrave. By running a material test, you can determine the ideal settings for your chosen material, ensuring clean, sharp engravings without excessive burning or charring.
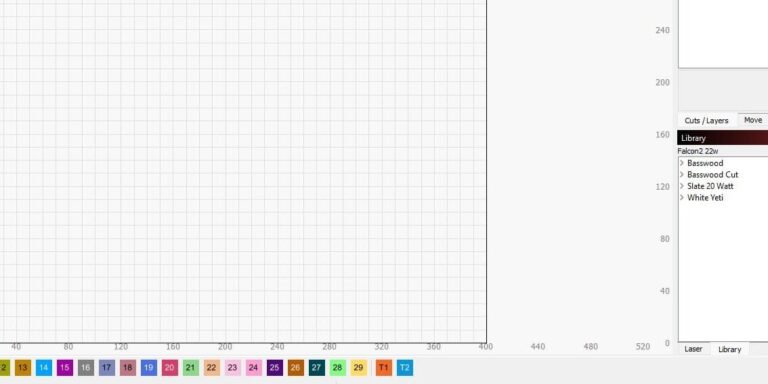
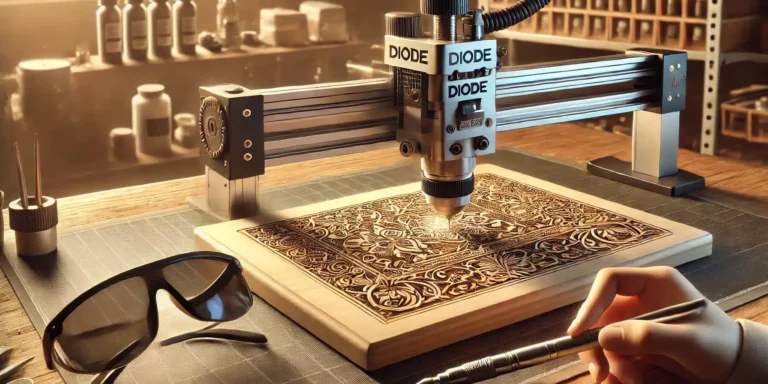
Step 1: Open LightBurn and Locate the Material Test Tool
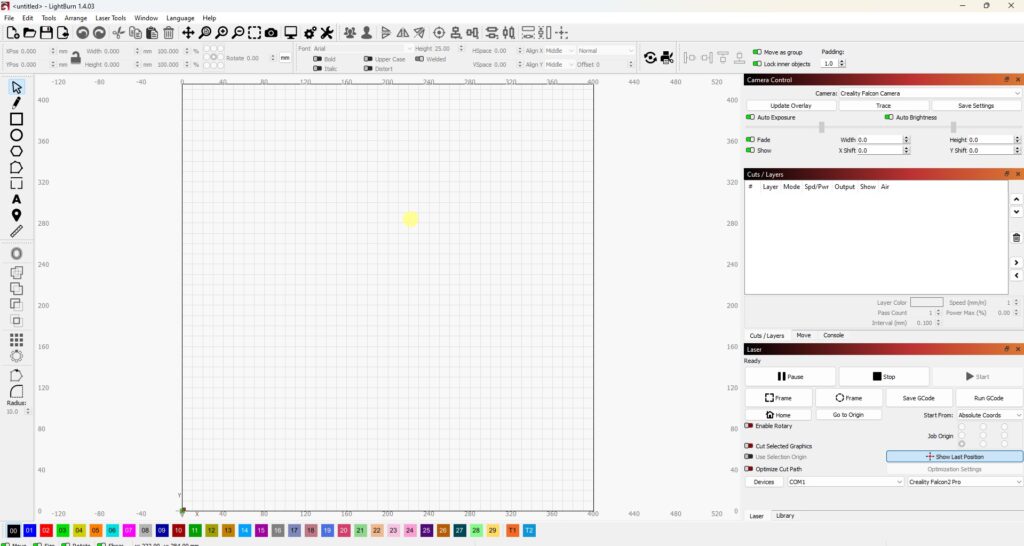
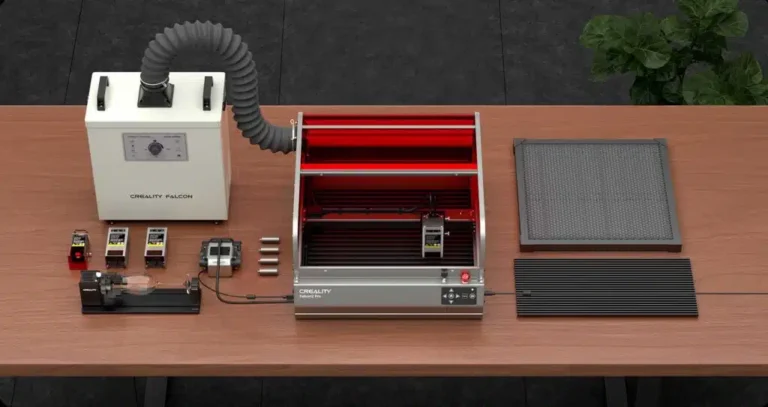
To get started with a material test in LightBurn, open the software on your computer. Once it’s open, navigate to the “Laser Tools” menu at the top. From there, click on “Material Test”. This tool is built right into LightBurn, so there’s no need to download extra files or plugins.
Pro Tip: If you’re having trouble finding the tool, check that you’re using the latest version of LightBurn, as older versions may look different or lack certain features.
Step 2: Adjust the Speed and Power Settings
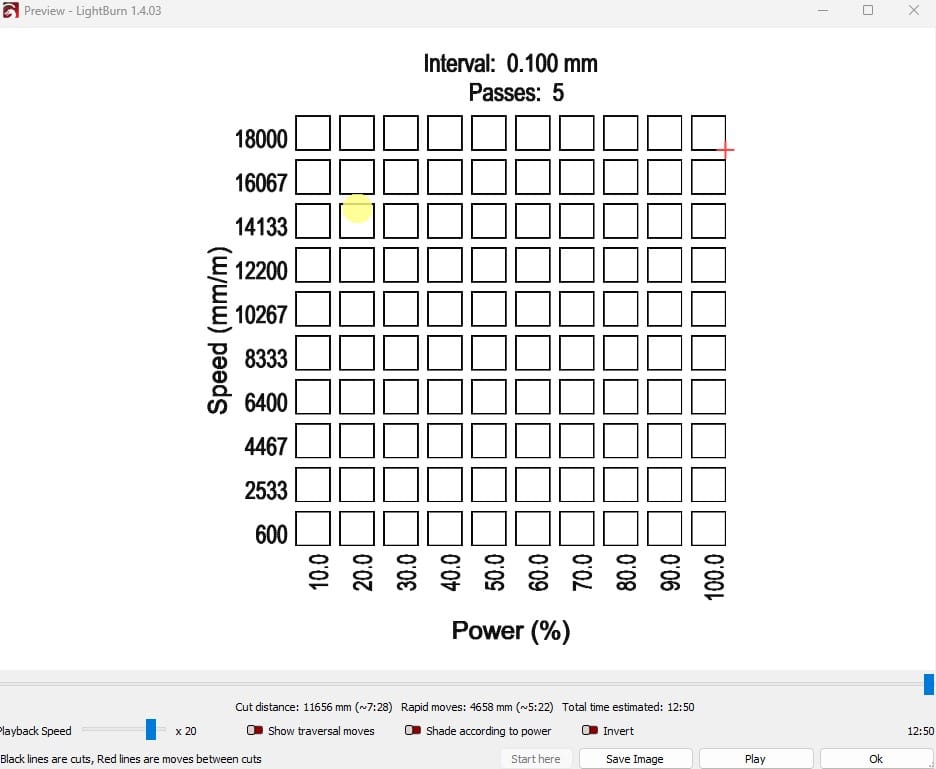
Once you’ve accessed the Material Test tool, you’ll see options for adjusting the Speed and Power settings. These two factors are crucial in determining how deeply the laser engraves or cuts into the material.
Choosing Your Initial Settings
For this example, we’ll work with Basswood at a 2mm thickness, commonly used in laser engraving projects. Although thickness doesn’t matter much for engraving, it’s good to note if you’re planning on cutting later.
- Recommended Settings for Basswood Engraving:
- Speed: 6,000 mm/min
- Power: 25%
- Passes: 1
Let’s start by setting the Speed to 6,000, which is the recommended value. However, to test the laser’s effect at different speeds, you can adjust this value up or down. In this example, we’ll set it to a range between 5,000 and 7,000.
Similarly, we’ll adjust the Power. Starting from a low value of 5%, we’ll incrementally go up to 35%, allowing us to see how different power levels affect the engraving quality.
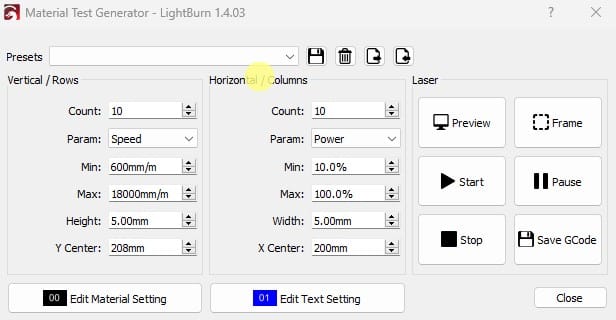
Step 3: Set Up Your Test Grid
To make your test comprehensive, create a grid of squares where each square has slightly different speed and power settings. This allows you to see various combinations in a single test run.
- Number of Squares: 10
- Square Size: 5mm x 5mm
This setup will give you a good variety of results without using too much material.
Step 4: Check Material and Layer Settings
LightBurn provides several options under Material Settings that you should adjust before running the test.
- Fill Mode: For engraving, use AIs Fill Mode.
- Line Mode: For cutting, use Line Mode.
- Bidirectional Fill: Check this option if you want the laser to engrave both forward and backward for efficiency.
- Overscanning: Set to around 5% to reduce any edge burns during the engraving process.
- Line Interval: Adjust based on your machine’s specifications.
For our test, we’ll go with a Line Interval close to the recommended setting for our laser, which is around 0.625. If you’re unsure, consult your machine’s manual for the best interval for engraving.
Step 5: Preview Your Material Test
Once your settings are configured, hit Preview. This feature shows you a simulation of how the laser will engrave each square on the grid with your specified settings. It’s a quick way to double-check that everything is set up correctly.
Take a moment to inspect the preview, ensuring all squares align correctly, and the settings reflect the adjustments you made.
Step 6: Frame the Test Area
Before you start engraving, use the Frame option to outline the area where your test will take place on the material. This step ensures the laser will engrave within the bounds of your workpiece.
- Place your piece of Basswood or chosen material on the laser bed.
- Click Frame to have the laser outline the test area.
- Adjust the position of the material if needed, then click Frame again for a final check.
Step 7: Run the Material Test
Once everything’s set up and framed, it’s time to start the test. Press Start on the LightBurn interface, and the laser will begin engraving each square on the grid with the specified speed and power settings.
Allow the laser to complete the test, then examine each square. Look for the cleanest, most precise engravings with minimal burning or charring—those are the settings you’ll want to use for future projects with that material.