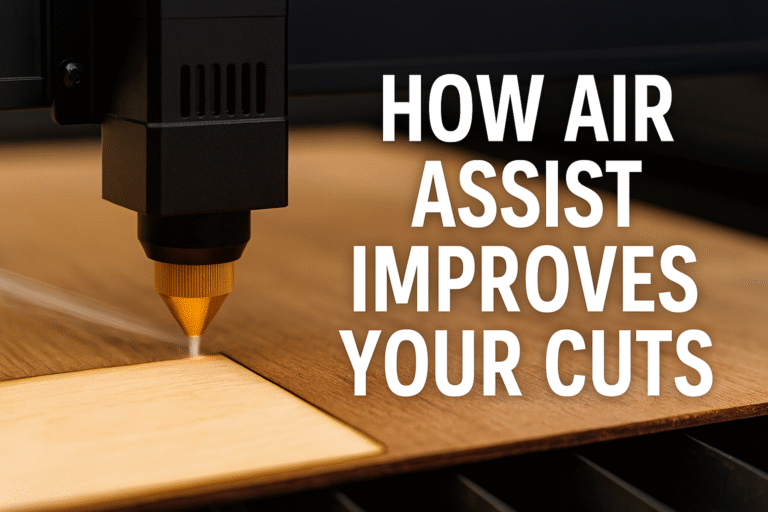
The Material Test Generator in LightBurn is a tool designed to help users find the best laser settings for various materials. It allows users to create a grid of test patterns with varying power, speed, interval, and passes to determine the optimal settings for engraving or cutting. Users can configure the test pattern and output location, as well as customize the test settings, text labels, and borders. The tool provides options to preview, frame, run, pause, and stop the test, and also allows for saving, deleting, exporting, and importing presets. Additionally, it supports the saving of custom presets for frequently used settings. Overall, the Material Test Generator aims to optimize laser settings for different materials and applications.
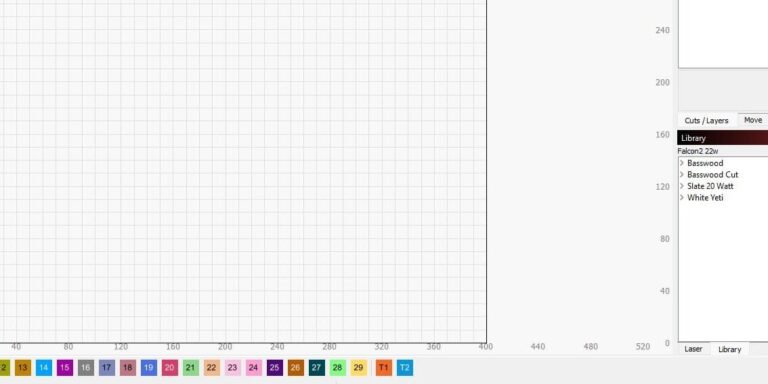
To get started goto the laser tools menu at the top and select material test.
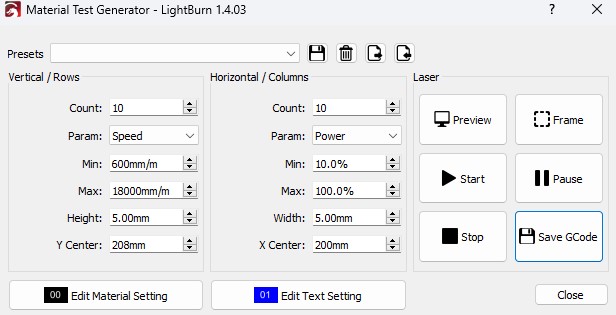
Once you open the Material Test Generator, you can configure your test pattern. By default, it will generate a 10×10 grid of boxes with varying Power and Speed settings. To test different parameters, use the Param dropdown menu.
The output location of the test grid depends on the Start From mode you choose before opening the Material Test Generator. Both Current Position and User Origin function as they do for other outputs, while the Absolute Coords location is determined by the X/Y Center options in the Material Test configuration.
Test Grid Settings and Explanation
- Count: Specifies the number of rectangles in each row and column.
- Param: Determines the setting being tested along this axis.
- Min: Defines the lowest value to be used for this setting.
- Max: Defines the highest value to be used for this setting.
- Height/Width: Sets the height and width of each rectangle in the test grid.
- Y Center/X Center: Determines the position of the center of the test grid when using Absolute Coordinates.
Use the settings below to configure your test grid. You can test parameters such as Power, Speed, Interval, or Passes. Additionally, if your laser supports them, you can also test Frequency and Q-Pulse width.
The three buttons at the bottom of the dialog box open the Cut Settings Editor, allowing you to adjust the settings for your test. Additionally, there are two switches to enable or disable the text labels and border.
- Edit Material Setting: Adjust the base settings for the test. While the two parameters selected in Param will vary across the grid, all other settings applied here will be consistent for every test box.
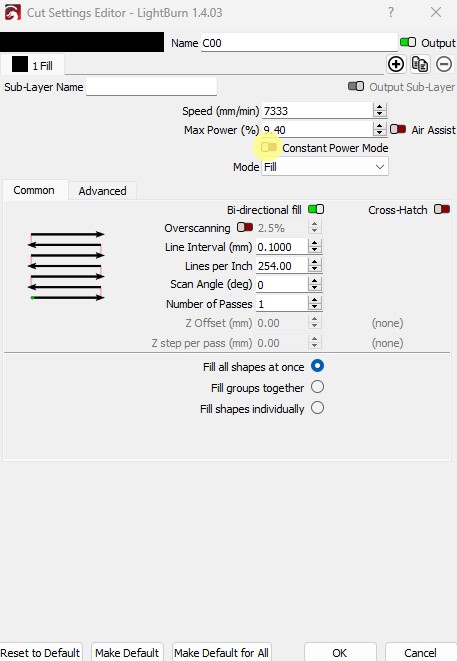
- Edit Text Setting: Modify the settings used for the text labels.
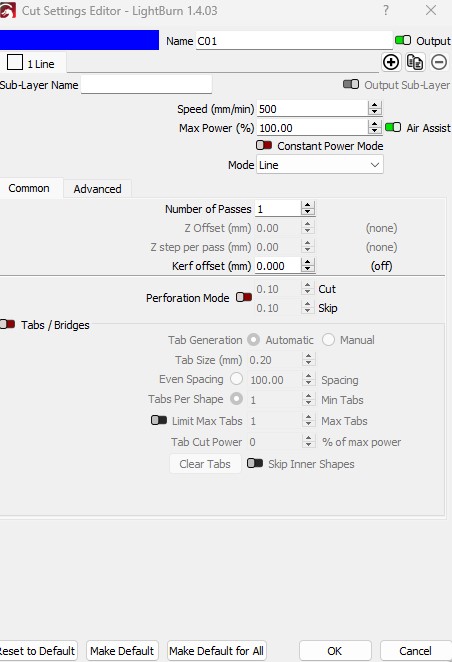
- Enable Text: This switch controls whether the text labels are included in the output.
- Edit Border Setting: Configure the settings for the border surrounding the test grid (available in LightBurn 1.5 and higher).
- Enable Border: This switch controls whether the border around the test grid is included in the output.
The buttons on the right side provide options to Preview the test grid, Frame to check the output location, run the laser, and more.
- Preview: Generates a preview of the test grid.
- Frame: Frames the test grid to show its position on the material.
- Start: Begins running the material test.
- Pause: Pauses the material test.
- Stop: Stops running the material test.
- Save RD File/Save GCode: Depending on your device, this option saves the test grid in RD or GCode format.