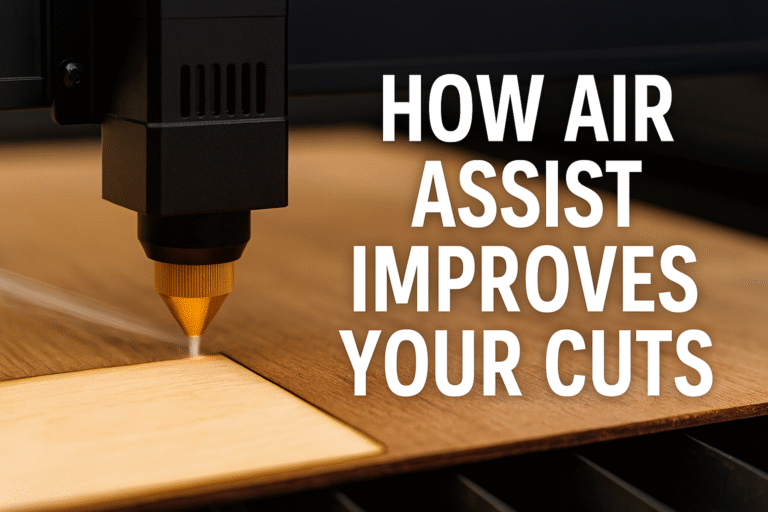
If you’re a laser cutting enthusiast, you’ve probably found yourself juggling multiple speed and power settings for various materials. Keeping all this information organized can be a hassle—especially if you’re relying on handwritten notes. But here’s some good news: laser cutting software often has a “Library” feature that can save you a ton of time and frustration. This feature lets you store your preferred settings for different materials, so you can access them with just a click.
In this guide, I’ll walk you through setting up your library, saving custom material settings, and using these settings efficiently. So, grab your laser cutter, and let’s make your workflow smoother than ever!
Why Use the Library Feature?
The library feature is essentially a digital database within your laser cutting software. Think of it as a virtual notepad where you can save specific power and speed settings for different materials, like birch wood, acrylic, or even metal. Once you set up a profile for each material, you’ll be able to select it quickly for future projects, without re-entering the same details every time. Here’s why the library feature is a game-changer:- Saves Time: No need to remember specific settings or look them up every time you switch materials.
- Consistency: Ensures you’re using the same settings for each material, reducing the risk of errors.
- Convenience: Organizes your settings in one place, so you don’t have to rely on paper notes.

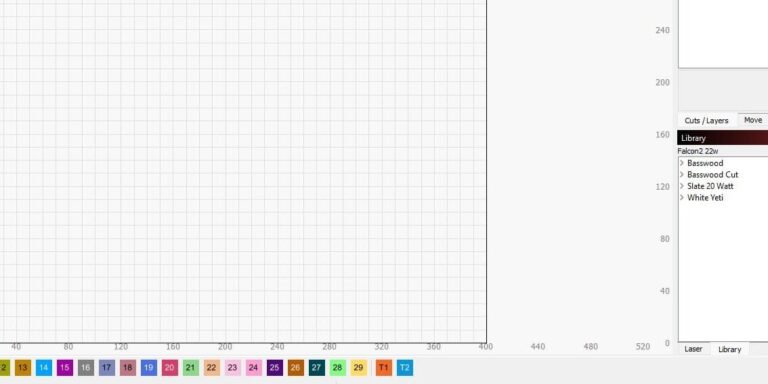
Getting Started: Accessing the Library
To get started, locate the “Library” option in your laser cutting software. This is usually under the “Settings” or “Materials” tab, but it can vary depending on your software.
Pro Tip: If your software has an Art Library, make sure you watch the introductory video that comes with it. This will show you how to set up your library and get familiar with the features.
Once you’re in the library, you’ll see options to create new material profiles, add descriptions, and save your preferred settings.
Step 1: Import an Image and Create a Layer
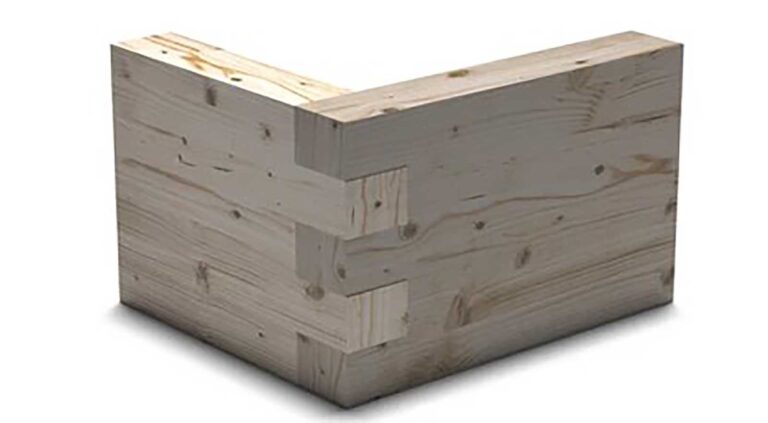
Let’s say you’re working on a new project and need to save settings for cutting quarter-inch birch wood. Start by importing the image you want to work with and creating a single layer. This layer will serve as the foundation for the settings you’re about to save.
Creating Layers
- Cut Layer: Start with a cut layer. This is essential for outlining or cutting out shapes.
- Fill Layer: If you need to add fills, like engraving or detailed shading, add a separate fill layer.
By setting these up, you’ll have the flexibility to assign different power and speed settings for cutting and filling, depending on the material.
Step 2: Set Your Material and Save It in the Library
With your layer ready, go to the Library and create a new entry for quarter-inch birch. Here’s how you can save your specific settings:
Name Your Material: Give it a descriptive title, like “Birch – 1/4 inch.”
- Tip: You can choose between using millimeters or inches. Whatever works best for your project.
Enter Power and Speed Settings: For quarter-inch birch, let’s say your settings are 400 for speed and 100 for power. Enter these values into the library.
Add Descriptions: Add a brief description so you can easily identify the settings later. You can also add tags for extra organization.
Save the Settings: Once all the details are in place, click “Save.” Now, whenever you select quarter-inch birch, these settings will automatically apply.
Note: If you’re using multiple laser cutters with different power ratings, you might want to create separate categories within the library for each machine, like “40W Laser” and “60W Laser.”
Step 3: Customize Fill and Line Layers
Once you have the basic cut settings saved, you can create additional profiles for different types of layers, like a fill layer. For example, you might want to save a lower power and higher speed setting for engraving or filling in designs on wood.
- Fill Layer Settings: For a fill layer on quarter-inch birch, you might set the speed to 5000 and the power to 40%.
- Line Layer Settings: This is ideal for outlines or small details, where you might use a speed of 400 and a power of 30%.
To save these:
- Select “Create New Layer” in the library.
- Choose the type (fill or line), add the settings, and save it under the same material category.
Now, you have both cut and fill settings saved for quarter-inch birch, making it easy to switch between them based on your project needs.
Step 4: Apply Your Saved Settings to a New Project
When you’re ready to use these saved settings, it’s super easy. Import your image, go to your layers, and select the material and layer profile you need from the library. Here’s a quick step-by-step:
- Click on your image layer.
- Go to the Library and select the material settings you saved (e.g., “Birch – 1/4 inch”).
- Choose between cut or fill, depending on your layer.
- Hit “Assign” to apply the settings.
And just like that, your laser cutter is now set up with the exact parameters you need!
Pro Tip: You can always adjust settings slightly if you’re experimenting with new techniques or if you’re using a different batch of materials. However, your library will act as a reliable starting point.
Additional Tips for Using the Library Feature
- Back Up Your Library: If your software allows it, export your library settings so you have a backup. This way, you won’t lose your settings if your computer crashes or you upgrade your software.
- Organize by Project or Material Type: Use folders or tags to keep similar materials together, like “Wood” or “Acrylic.” This makes it faster to locate specific settings.
- Adjust for Different Environments: Sometimes, humidity and temperature can affect laser cutting results. Don’t be afraid to tweak settings slightly to account for these conditions.
The library feature in laser cutting software can be a real lifesaver for organizing and storing your material settings. By taking the time to set it up, you’ll save yourself from the hassle of constantly adjusting settings and improve the consistency of your cuts. Plus, you’ll have more time to focus on creating instead of tweaking!
So next time you start a new project, remember: check your library first, select the right settings, and let the laser do its thing. Happy cutting, and may your projects be smooth and precise!