Are you ready to take your paper projects to the next level? Whether you’re a seasoned crafter or a newcomer to the world of laser engraving, working with paper can unlock a whole new realm of creative possibilities. Laser engraving on paper offers precision, versatility, and the ability to create intricate designs that would be difficult—or even impossible—to achieve by hand.
But before you dive in, it’s essential to understand the unique challenges and opportunities that come with this medium. From choosing the right laser engraver to mastering the techniques that will ensure your projects are flawless, this guide will walk you through everything you need to know. By the end, you’ll not only understand how to use a laser engraver with paper, but you’ll also be brimming with ideas for your next project.

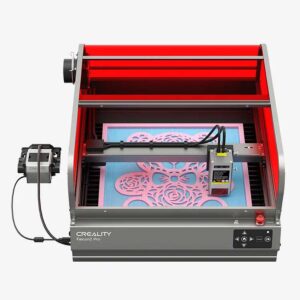
Choosing the Right Laser Engraver for Paper Projects
Selecting the right laser engraver is crucial for achieving the best results with paper. Not all laser engravers are created equal, and when it comes to delicate materials like paper, certain features are essential.
Key Features to Look For
When choosing a laser engraver for paper, consider the following features:
Power Settings: Look for an engraver with adjustable power settings. Paper is a sensitive material that can burn or tear easily, so having the ability to fine-tune the power is vital. A lower power setting ensures clean cuts without scorching the edges.
Precision and Accuracy: A high-resolution laser engraver is a must for intricate designs. The higher the DPI (dots per inch), the more detailed your engravings will be. This is particularly important for projects that require fine details, such as invitations or intricate patterns.
Compatibility with Different Paper Types: Different paper types—such as cardstock, vellum, and standard paper—respond differently to laser engraving. Choose an engraver that can handle a variety of paper types without compromising quality.
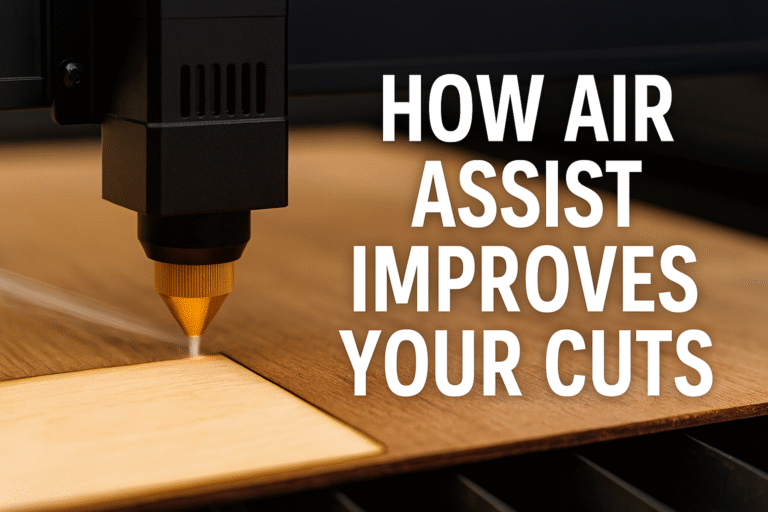
Safety Features: Since paper is highly flammable, safety features like automatic shut-off, proper ventilation, and a well-ventilated work area are non-negotiable. Some laser engravers come with built-in air assist, which helps to keep the laser cool and reduces the risk of fire.
Setting Up Your Workspace
Creating an ideal workspace is just as important as choosing the right machine. Here are some tips:
Proper Ventilation: Always work in a well-ventilated area to avoid inhaling fumes that might be produced when engraving paper. Consider using a fume extractor if your workspace doesn’t have adequate ventilation.
Workspace Setup: Keep your workspace clean and free of clutter. Paper scraps and dust can easily ignite if they come into contact with the laser beam. Organise your tools and materials to ensure a smooth workflow.
Essential Tools: Alongside your laser engraver, you’ll need a few other tools, such as a soft brush to remove paper debris from the engraved pieces, and tweezers for handling delicate cuts.
Check out this guide for setting up a safe and efficient laser engraving workspace.
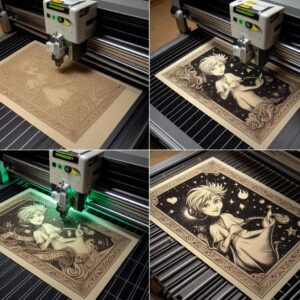
Step-by-Step Guide to Laser Engraving on Paper
Now that you’ve selected the right laser engraver and set up your workspace, it’s time to dive into the process of laser engraving on paper. This step-by-step guide will help you achieve professional results with ease.
Preparing Your Design
The design phase is crucial for ensuring that your final product looks as stunning as you envision it.
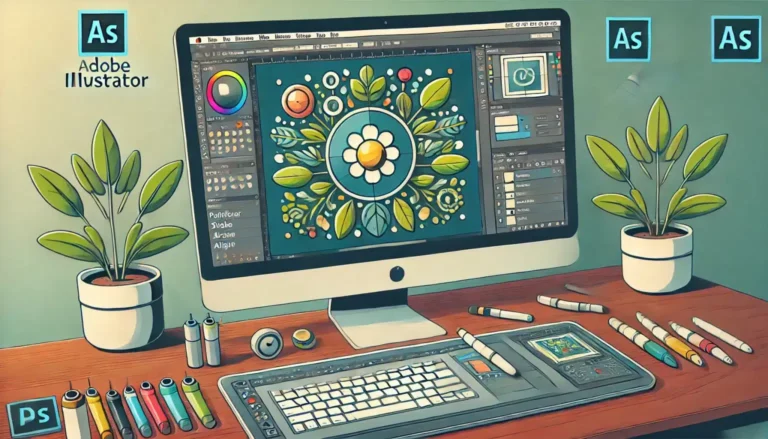
Software Recommendations: Start by choosing the right software for creating your designs. Popular options include Adobe Illustrator, CorelDRAW, and Inkscape. These programs allow you to create vector-based designs, which are ideal for laser engraving.
Creating or Selecting a Design: Whether you’re creating a design from scratch or using a pre-made template, ensure that your design is clean and simple. Intricate designs are beautiful, but they require careful planning to ensure that the laser engraver can handle the detail.
Adjusting Settings for Paper: Before engraving, adjust your software settings specifically for paper. Set the laser speed higher and the power lower to prevent burning. Run a few test cuts on scrap paper to fine-tune these settings.
Executing the Engraving Process
Once your design is ready, it’s time to bring it to life.
Setting Up the Laser Engraver: Place your paper securely on the engraver’s bed. Ensure that it is flat and smooth to avoid any misalignments during the engraving process. Use a light adhesive spray or masking tape to hold the paper in place if necessary.
Running the Test Engraving: It’s always a good idea to run a test engraving on a piece of scrap paper before starting the actual project. This will help you confirm that the settings are correct and that the design will engrave as expected.
Engraving the Design: Start the engraving process, keeping an eye on the machine to ensure everything runs smoothly. If you notice any issues, such as burning or tearing, pause the machine and adjust the settings as needed.
Finishing Touches: After the engraving is complete, carefully remove the paper from the bed. Use a soft brush to gently clean off any debris. If the design includes cutouts, use tweezers to remove any small pieces left behind.
Watch this video tutorial for a visual guide to laser engraving on paper.
Creative Project Ideas with Laser-Engraved Paper
Laser engraving on paper opens up a world of creative possibilities. From personalised gifts to unique home décor, the projects you can create are limited only by your imagination. Here are some inspiring ideas to get you started.
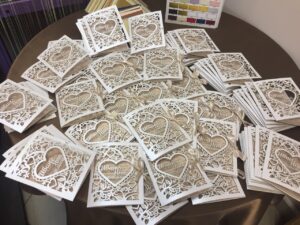
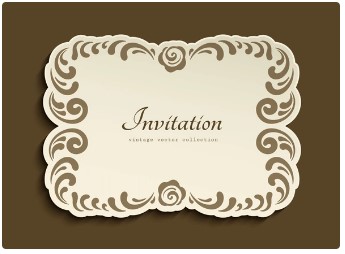
Personalised Stationery and Invitations
Laser engraving allows you to create stunning, custom stationery and invitations that stand out from the crowd.
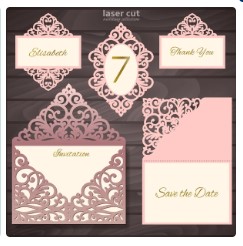
Wedding Invitations: Impress your guests with intricate laser-cut wedding invitations. You can incorporate delicate lace patterns, monograms, or even a theme-specific design that reflects the couple’s style.
Greeting Cards: Customise greeting cards for any occasion with laser-engraved designs. Whether it’s a birthday, anniversary, or holiday, a laser-cut card adds a personal touch that makes it truly special.
Business Stationery: Elevate your brand with laser-engraved business cards, letterheads, and envelopes. The precision of laser engraving gives your stationery a professional and polished look.
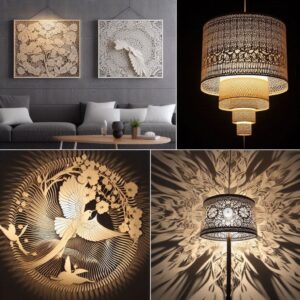
Home Décor and Art
Transform your living space with unique home décor pieces made from laser-engraved paper.
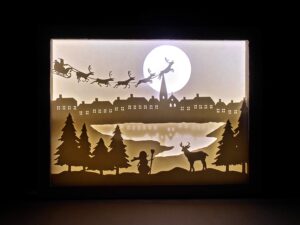
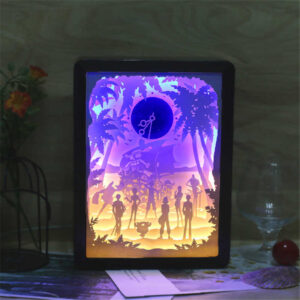
Wall Art: Create intricate paper cutouts that can be framed and hung as wall art. Layer different designs and colours of paper for a three-dimensional effect that adds depth to your artwork.
Lampshades: Design custom lampshades with laser-cut patterns that cast beautiful shadows when illuminated. This is a great way to add a touch of creativity to any room.
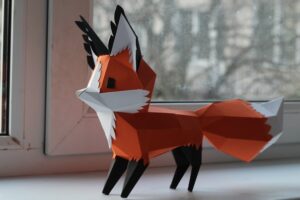
Paper Sculptures: Experiment with laser-cut paper to create three-dimensional sculptures. These can be anything from abstract shapes to detailed models of animals or buildings.
Business and Branding Applications
Laser-engraved paper isn’t just for personal projects—it can also be a powerful tool for business branding.
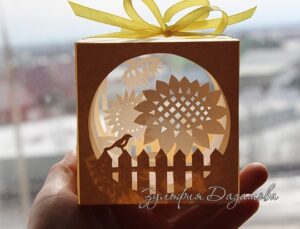
Custom Packaging: Design unique packaging solutions with laser-engraved details. From product boxes to labels, this technique can make your brand stand out in a competitive market.
Promotional Materials: Use laser engraving to create eye-catching flyers, brochures, or tags for your products. The precision of laser engraving can highlight your brand’s attention to detail and commitment to quality.
Event Decorations: If you’re hosting a corporate event or product launch, consider using laser-engraved paper for table numbers, place cards, or banners. These small details can enhance the overall atmosphere and leave a lasting impression on your guests.
Explore more laser-engraved paper project ideas and tutorials.
Troubleshooting Common Issues in Paper Laser Engraving
While laser engraving on paper can yield beautiful results, it’s not without its challenges. Here are some common issues you might encounter and tips on how to resolve them.
Avoiding Burn Marks and Inconsistent Cuts
One of the most common problems when laser engraving paper is the appearance of burn marks or uneven cuts. Here’s how to prevent these issues:
Adjusting Laser Power and Speed: If your paper is burning, your laser power is likely too high, or your speed is too slow. Lower the power settings and increase the speed to reduce the chances of burning. Start with test cuts on scrap paper to find the perfect balance.
Choosing the Right Paper: Some types of paper are more prone to burning than others. Thicker papers, such as cardstock, generally hold up better under the laser. Avoid papers that have a glossy finish or are too thin, as they may burn or tear easily.
Using Air Assist: If your laser engraver has an air assist feature, use it. Air assist helps to blow away debris and cool the material during cutting, which can reduce the likelihood of burn marks.

Dealing with Design Errors and Machine Malfunctions
Even with careful planning, things can go wrong. Here’s how to handle design errors and machine malfunctions:
Correcting Design Mistakes: If your design doesn’t engrave as expected, review the file in your design software. Common issues include lines that are too thin or complex patterns that the laser struggles to follow. Simplifying the design or thickening the lines can often resolve these issues.
Aligning the Paper Correctly: Misalignment can ruin an otherwise perfect design. Always double-check that your paper is aligned correctly on the engraver’s bed before starting the process. Use alignment tools or guides if your machine has them.
Machine Maintenance: Regular maintenance is key to avoiding malfunctions. Keep the laser lens clean, ensure that the belts are tight, and check for any debris that could obstruct the laser beam. A well-maintained machine is less likely to produce errors.
Preventing Paper Warping and Curling
Paper can sometimes warp or curl during or after engraving. Here’s how to manage it:
Minimising Heat Exposure: Excessive heat can cause paper to warp. This often happens if the laser power is too high or if the paper is exposed to the laser for too long. Lower the power and increase the speed to minimise heat build-up.
Securing the Paper: If your paper tends to curl, consider securing it with a light adhesive or tape at the edges. This will keep it flat during engraving. Just be careful not to use too much adhesive, as it can leave marks on the paper.
Using a Humidifier: In dry environments, paper can become brittle and more prone to curling. A humidifier in your workspace can help maintain optimal moisture levels, keeping your paper in good condition.
Link Placeholder: Read more about troubleshooting laser engraving issues.
Tips and Tricks for Professional-Looking Results
To truly master laser engraving on paper, it’s essential to go beyond the basics. These tips and tricks will help you achieve polished, professional-looking results that stand out.
Enhancing Your Engravings
To make your laser-engraved designs more vibrant and visually appealing, consider these techniques:
Adding Colour: While laser engraving itself doesn’t add colour, you can enhance your designs by incorporating coloured paper or by using paint, ink, or markers to highlight certain areas. For instance, you can paint the engraved areas for a striking contrast or layer coloured paper behind cutouts to create a multi-dimensional effect.
Layering Paper: Create depth in your designs by layering multiple sheets of paper. Laser engrave each layer with different elements of your design and stack them to form a three-dimensional piece. This technique is especially effective for creating intricate patterns, shadow boxes, or detailed artwork.
Combining Materials: Don’t limit yourself to just paper. Combine your laser-engraved paper with other materials like wood, acrylic, or fabric. For example, you could mount an engraved paper design on a wooden plaque or integrate it into a fabric-covered notebook for a unique mixed-media project.
Optimising Efficiency and Reducing Waste
Being efficient not only saves time but also reduces material waste. Here are some tips to optimise your engraving process:
Batch Processing: If you’re working on multiple pieces, set up your laser engraver to cut or engrave several designs at once. This can save you significant time compared to engraving each piece individually. Make sure to align your designs properly on the material to avoid any miscuts.
Smart Use of Scrap Paper: Don’t throw away leftover paper from previous projects. Instead, use these scraps for smaller designs or test cuts. This not only reduces waste but also maximises the utility of your materials.
Efficient Layouts: When designing your project, arrange your designs in a way that minimises the gaps between cuts. This helps you make the most out of each sheet of paper and reduces the amount of unused material.
Elevate Your Craft with Laser-Engraved Paper
Laser engraving on paper is more than just a technique—it’s an art form that allows you to transform simple sheets of paper into intricate, personalised works of art. Whether you’re creating stunning invitations, unique home décor, or custom business materials, the possibilities are endless.
By mastering the basics of laser engraving, choosing the right equipment, and applying the tips and tricks shared in this guide, you can achieve professional-level results that truly stand out. Remember, the key to success lies in experimentation and creativity. Don’t be afraid to try new ideas, test different settings, and push the boundaries of what’s possible with your laser engraver.
So, what’s your next project? Whether it’s a delicate wedding invitation or a bold piece of wall art, now is the perfect time to start. Dive in, explore, and most importantly, enjoy the process of bringing your creative visions to life with laser-engraved paper.
Find more inspiration and tutorials on advanced laser engraving techniques.