Learn how air assist improves your cuts with cleaner edges, fewer scorch marks, faster laser cutting, and safer operation. Includes PSI tips, setup, and troubleshooting.
Introduction
If you’ve spent any time cutting wood, acrylic, leather, or cardboard with your diode or CO2 laser, you’ve probably noticed that the results can vary dramatically depending on one thing: air assist. Whether you’re cutting detailed ornaments, jigs, signs, or thick plywood, air assist is one of the most important upgrades you can make. It improves cut quality, reduces burning, extends laser life, prevents fires, and lets you work faster and cleaner.
In this guide, we’ll break down how air assist improves your cuts, why it works, how to set it up, PSI tips, and troubleshooting.
If you’re new to diode lasers, be sure to read the Diode Laser Beginner Guide as well.
What Is Air Assist in Laser Cutting?
Simple Definition
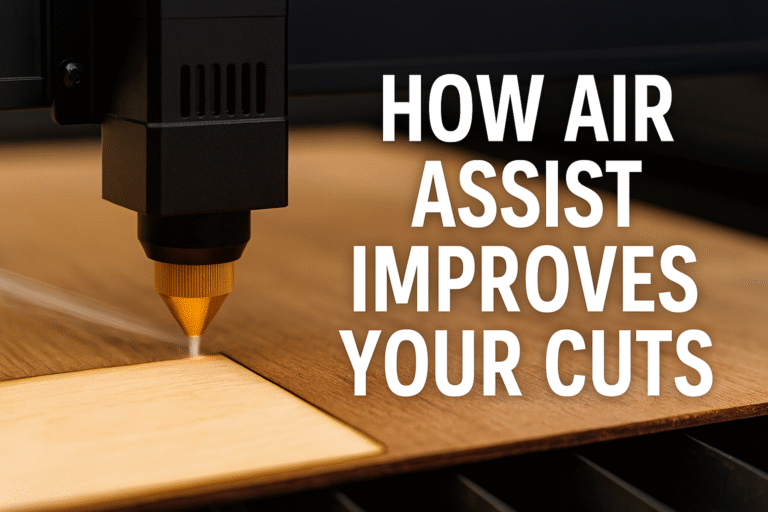
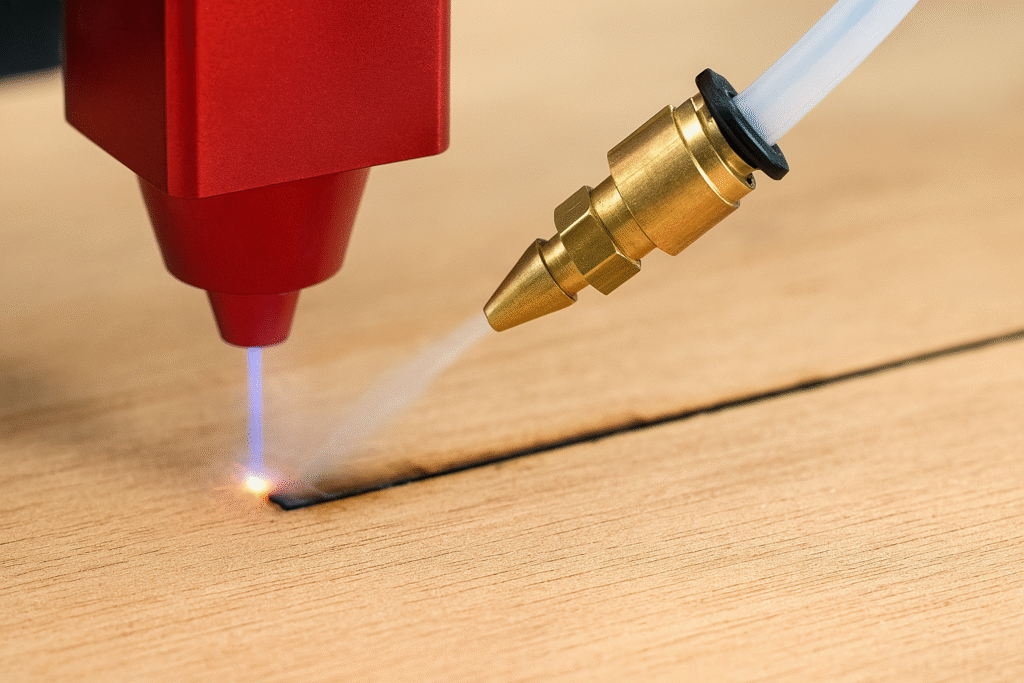
Air assist is a controlled stream of air that blows directly at the point where the laser beam hits your material. This airflow clears debris, smoke, and heat from the cut, dramatically improving quality.
How Air Assist Works
As the laser burns through material, it creates smoke and molten debris (slag). Without airflow, this contaminates the beam path. Air assist removes this instantly so the laser can cut through clean material.
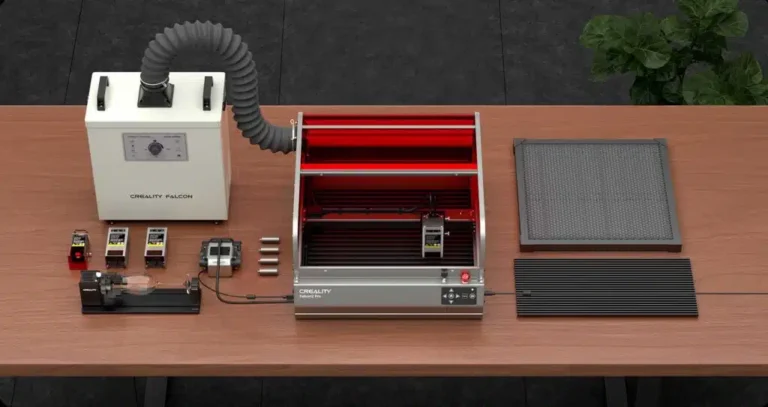
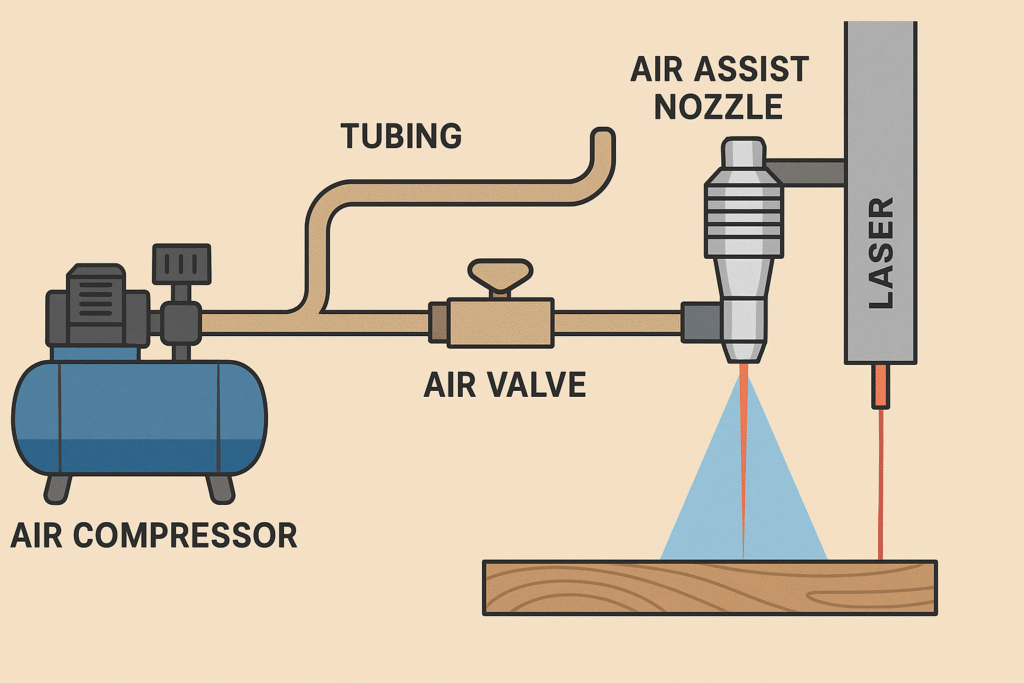
Key Components of an Air Assist System
- Air pump or compressor
- Silicone or PVC tubing
- Metal nozzle
- Air valve or software control
How Air Assist Improves Your Cuts (Core Benefits)
Cleaner Cutting Edges
Smoke staining disappears, edges stay bright, and details remain crisp. Less sanding and less finishing work.
Fewer Scorch Marks and Less Burning
Airflow cools the material and prevents unnecessary burning. Wood projects look cleaner and more professional.
Improves Laser Penetration
Smoke blocks the laser. Removing it increases effective power, enabling fewer passes and deeper cuts.
Faster Cutting Speeds
- Use higher speeds with clean results
- Need fewer passes
- Work more efficiently on production jobs
Prevents Fires
Air assist blows away embers before they develop into flames — crucial for cardboard, cork, and thin materials.
Extends Lens Life
Airflow keeps debris away from the lens, reducing maintenance and extending the life of your machine.
Materials That Benefit the Most From Air Assist
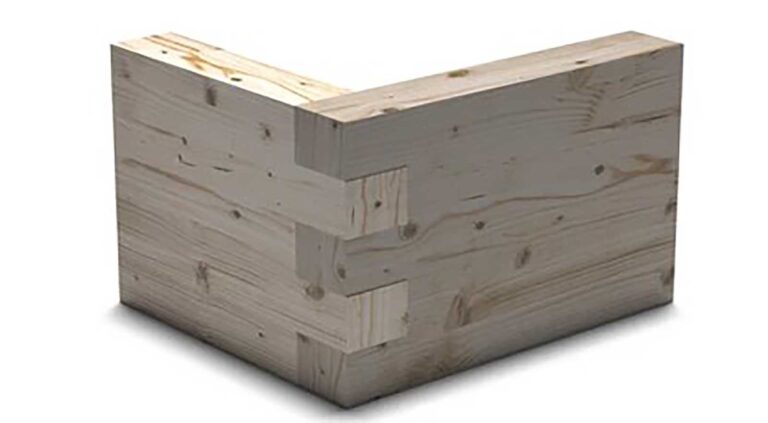
Wood (Plywood, MDF, Basswood)
Cleaner edges, less resin buildup, and stronger parts. Recommended PSI: 20–30 PSI.
Acrylic
Prevents melting, reduces flame-ups, and creates smoother edges.
Leather
Less burn smell, fewer scorch marks, and better detail separation.
Cardboard & Paper
The most flammable materials. Air assist is essential.
Anodized or Coated Metals
Helps with engraving clarity and heat control.
How Much Air Pressure Do You Need? (PSI Guide)
Diode Lasers
Ideal PSI: 15–30 PSI
20 PSI for most wood, 30 PSI for thick plywood, and 10–15 PSI for engraving.
To see how a diode laser handles high airflow, check out the Falcon2 Pro Review.
CO2 Lasers
- Light materials: 10–20 PSI
- Thick acrylic: 40–60 PSI
- Deep cutting: 50+ PSI
Signs You Need More PSI
- Burn marks
- Rounded edges
- Incomplete cuts
- Smoke inside the cut
Signs You Need Less PSI
- Fuzzy edges
- Material movement
- Cloudy acrylic
When to Turn Air Assist Off
High-Detail Engraving
Too much airflow can distort fine details.
IR Laser Heads
Air assist can blow away powder coatings used for IR engraving.
Choosing the Right Air Assist System
Built-In Air Assist
- Quiet and simple
- Lower PSI
- Great for beginners
External Air Compressors
- High PSI
- Strong constant airflow
- Ideal for production cutting
Pump vs. Compressor
- Pump: quiet, low PSI
- Compressor: loud, strong PSI, best for wood
How to Set Up Air Assist Correctly
Positioning the Nozzle
- 2–3 mm above material
- Pointed directly at the burn point
- Avoid extreme side angles
Prevent Air Leaks
- Check tubing connections
- Use tight clamps
- Inspect valves
Software Controls
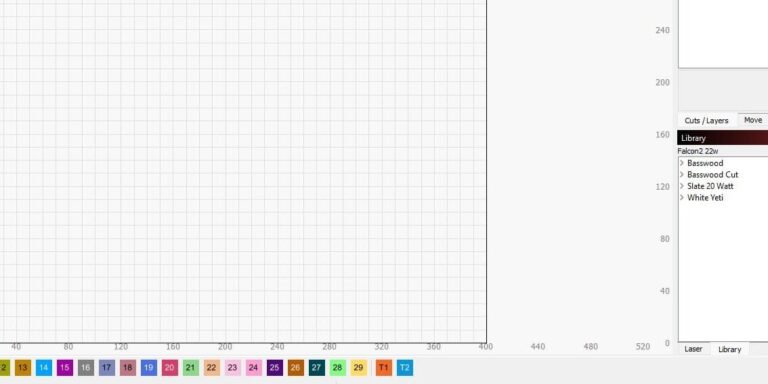
Use LightBurn or Creality Design Space to toggle air assist automatically during cutting vs. engraving.
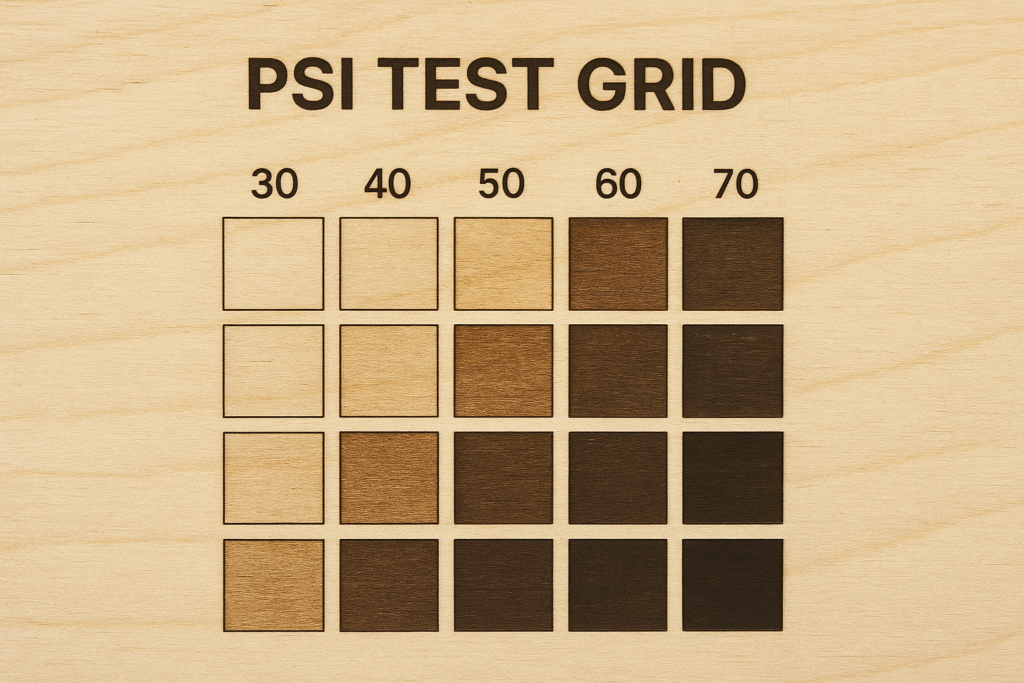
Testing & Tuning Air Assist
Run a Test Grid
Test different speeds, power levels, and PSI settings.
Tune for Each Material
Wood loves higher PSI. Paper prefers low. Acrylic varies based on thickness.
Compare Before & After
Look for sharper lines, reduced smoke, and cleaner undersides.
Troubleshooting Air Assist Issues
Air Isn’t Turning On
- Software may not be toggled
- Pump or compressor issue
- Loose wiring
Weak Airflow
- Air leaks
- Dirty nozzle
- Damaged tubing
Cuts Still Have Burn Marks
- Increase PSI
- Clean lens
- Check nozzle angle
Safety Benefits of Air Assist
Fire Prevention
Airflow stops small embers from forming flames.
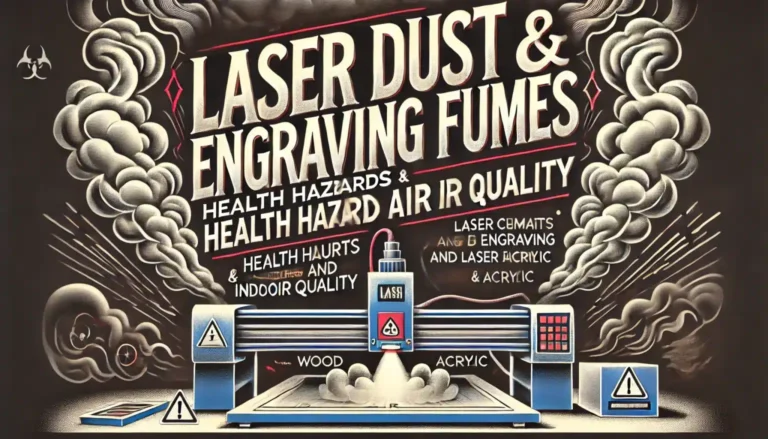
Cleaner Ventilation
Less smoke means better health and less residue inside your machine.
Machine Protection
Air assist keeps debris away from delicate optics.
Frequently Asked Questions
Do I need air assist?
If you cut wood, acrylic, leather, cardboard, or paper — yes.
Can I use an aquarium pump?
Yes, for light cutting and engraving.
Does air assist make my laser more powerful?
No, but it helps your laser act more powerful by clearing smoke.
What PSI should I use for 3mm plywood?
20–25 PSI for clean results.
Does air assist help engravings?
Use low PSI for detailed engravings.
Conclusion: Why Air Assist Improves Your Cuts Every Time
Air assist is a must-have upgrade for anyone cutting with a diode or CO2 laser. It provides cleaner edges, reduces scorching, speeds up cutting, extends machine life, and increases safety.
For more laser cutting tips, check out the Diode Laser Beginner Guide and the Falcon2 Pro Review.