Are you fascinated by the idea of 3D printing, imagining all the custom creations you could bring to life. But then you dive into the world of 3D printing, and suddenly, it feels like you’ve opened a can of worms. Words like “extruder,” “bed leveling,” and “FDM vs. SLA” start flying at you, and you’re left wondering if this exciting new hobby is more complicated than you thought.
Sound familiar? If so, you’re in the right place. Getting started with 3D printing can feel overwhelming, but it doesn’t have to be. In this guide, you’ll learn the essentials of 3D printing—what it is, the types of printers available, and the basics of setting up your first machine. By the end, you’ll be ready to start your 3D printing journey with confidence.
What is 3D Printing?
3D printing, also known as additive manufacturing, is a process where a physical object is created from a digital design. Unlike traditional manufacturing methods that subtract material (like carving or drilling), 3D printing builds objects layer by layer. This method allows for incredible precision and the ability to create complex designs that would be difficult or impossible to achieve through other means.
Essential Terminology
Before you start, it’s helpful to understand some basic terms you’ll encounter in the world of 3D printing:
- Extruder: The part of the 3D printer that pushes out the material (usually plastic) to create each layer of the object.
- Filament: The material used in 3D printing, commonly available as spools of plastic. Common types include PLA (Polylactic Acid) and ABS (Acrylonitrile Butadiene Styrene).
- Build Plate/Print Bed: The flat surface where the 3D print is formed. Proper leveling of the bed is crucial for successful printing.
- G-code: The language that tells the 3D printer how to move and print. It translates the 3D model into instructions that the printer can follow.
- Slicing: The process of dividing a 3D model into layers to create G-code. Software like Cura or PrusaSlicer is often used for this step.
Understanding these basics will help you feel more comfortable as you explore the 3D printing process.
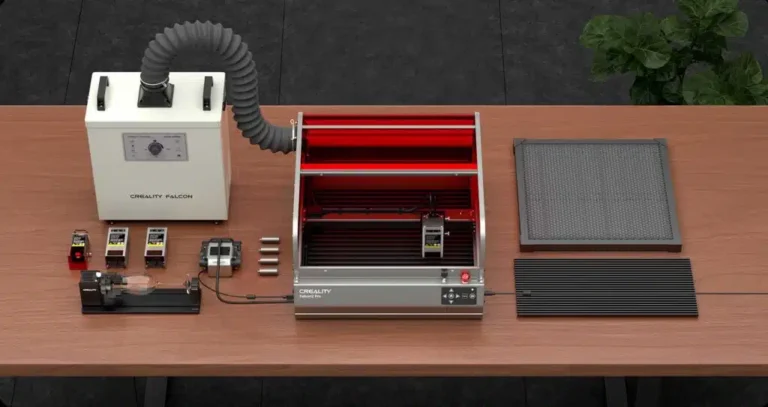
Types of 3D Printers
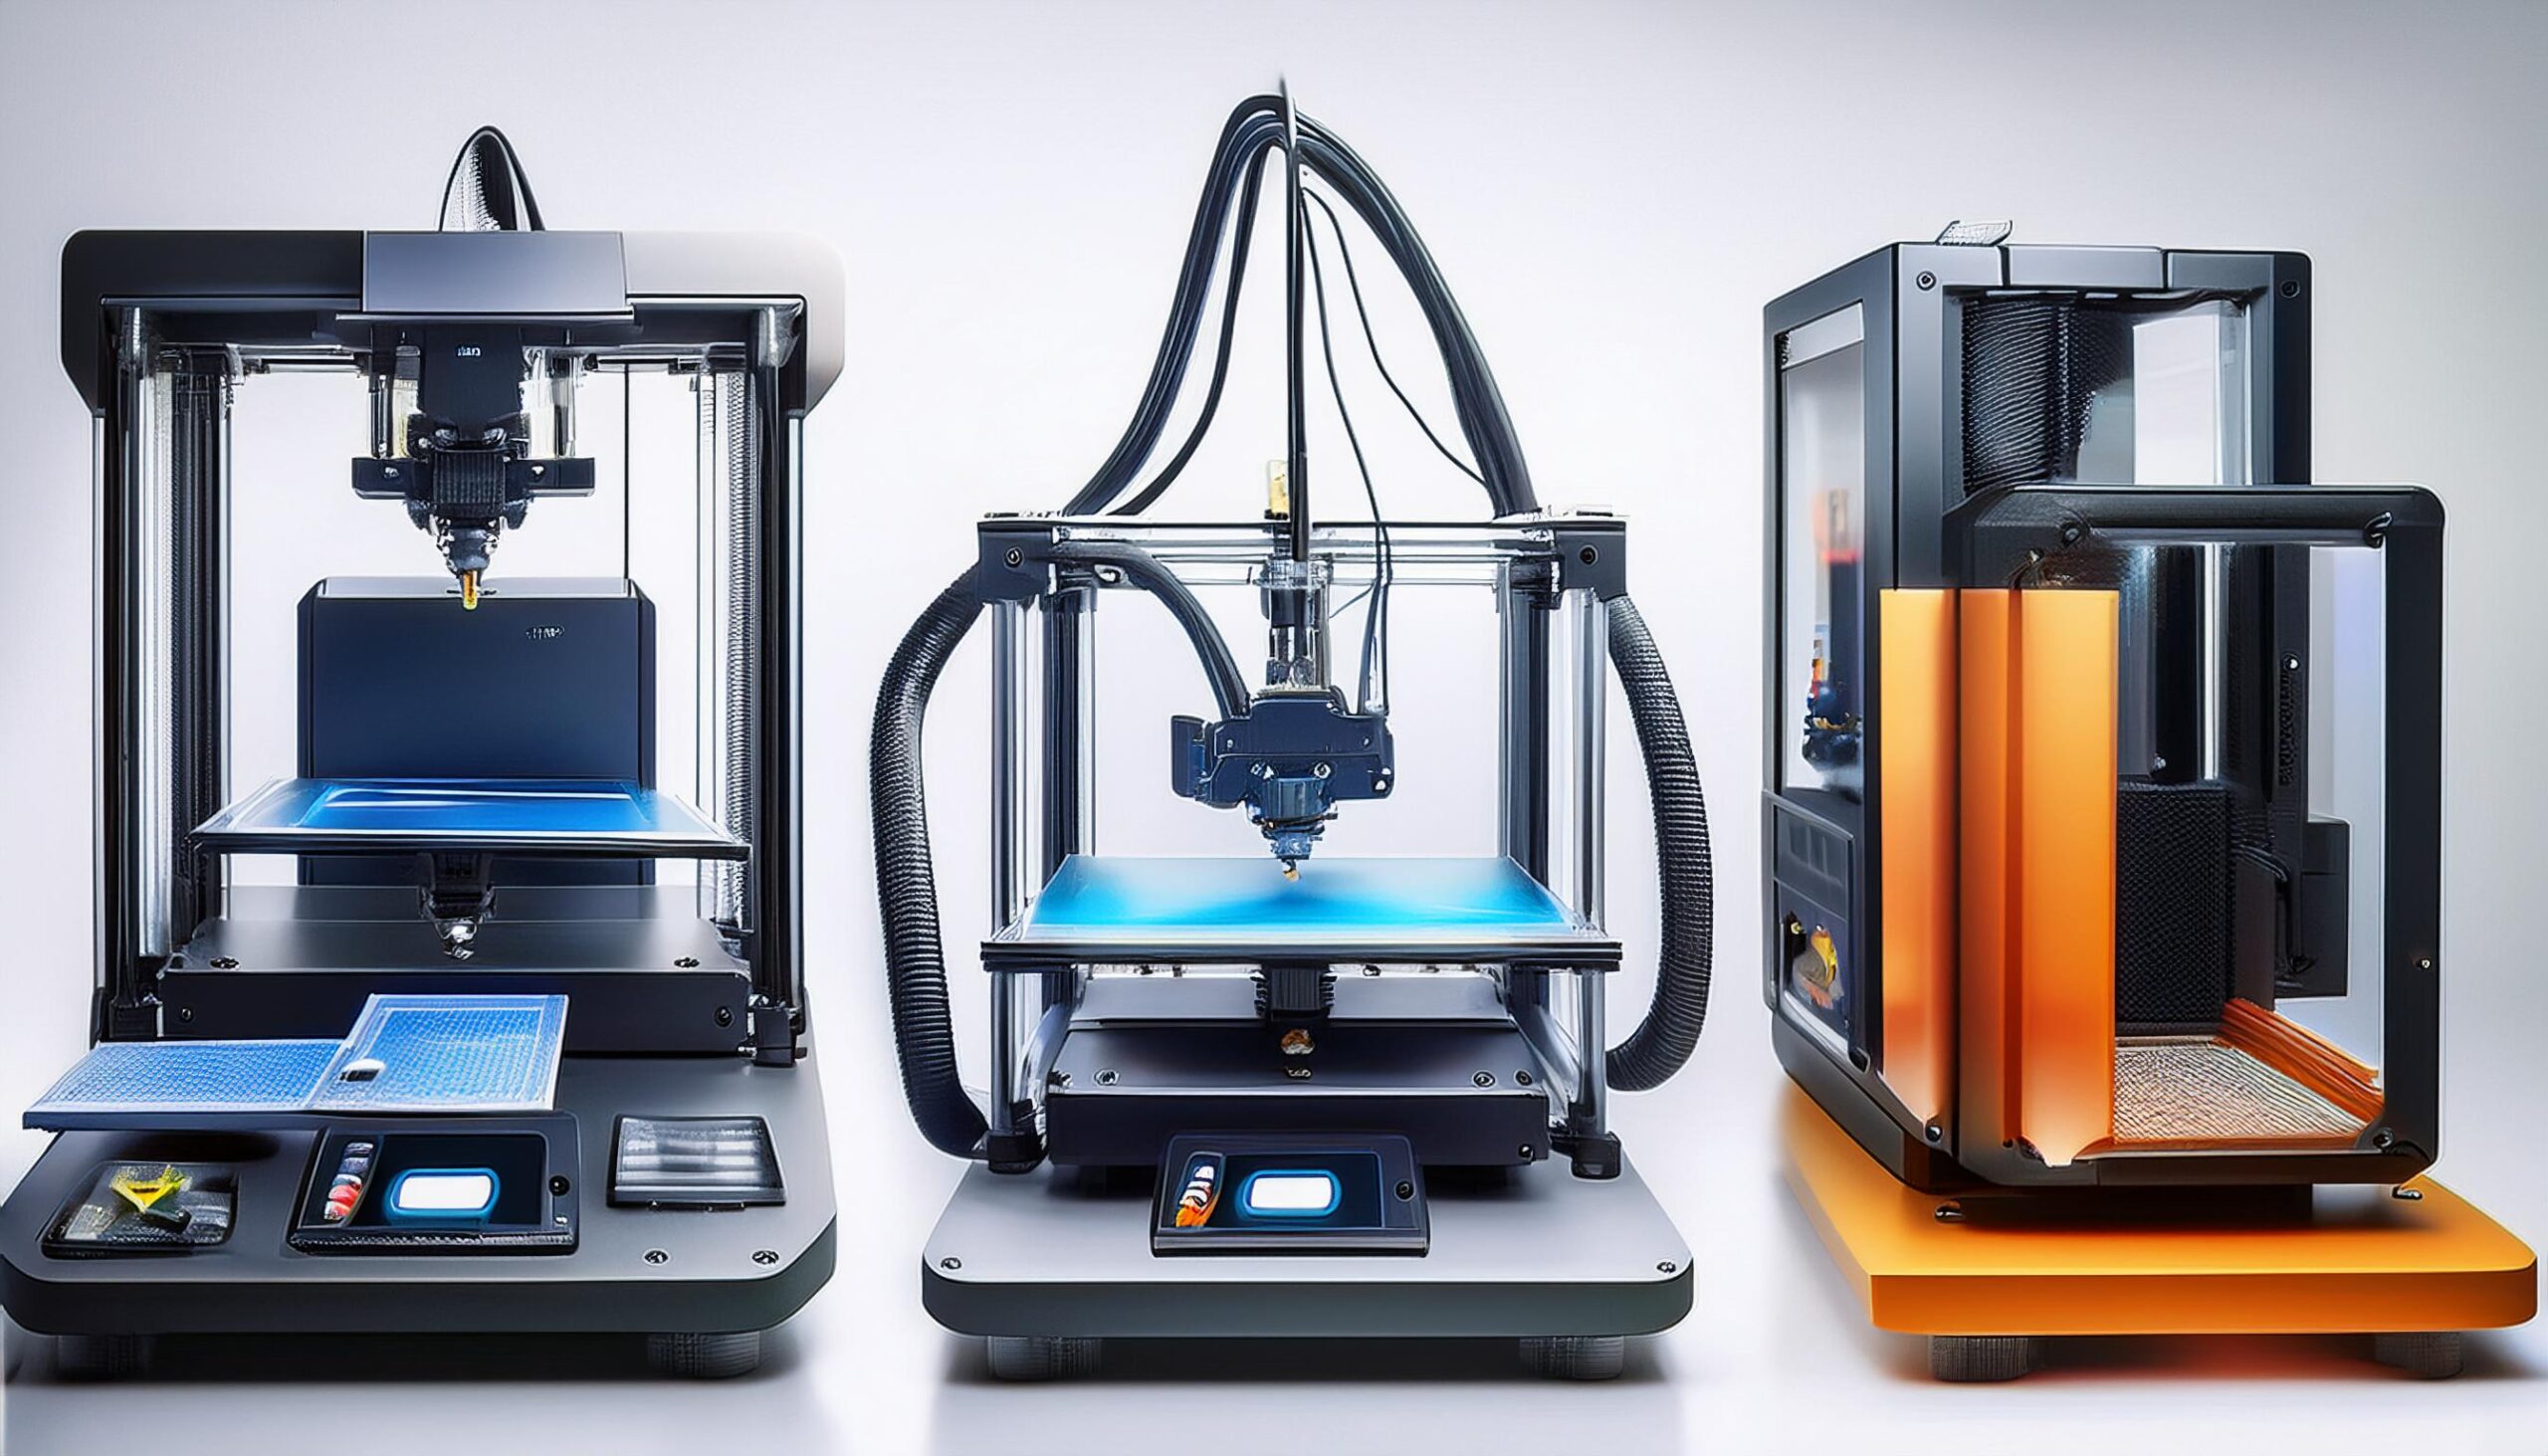
When it comes to 3D printing, there are several types of printers to choose from, each with its strengths and weaknesses. As a beginner, it’s important to understand the differences so you can choose the best one for your needs.
FDM (Fused Deposition Modeling)
FDM is the most common type of 3D printer and is often recommended for beginners. It works by extruding melted filament through a nozzle to create each layer of the object.
Pros:
- Affordable and widely available.
- Easy to find materials (filaments like PLA, ABS).
- Large community support and resources.
Cons:
- Surface finish can be less smooth compared to other methods.
- May require more post-processing, like sanding or smoothing.
SLA (Stereolithography)
SLA printers use a laser to cure liquid resin into solid layers, resulting in highly detailed prints. These printers are ideal for projects requiring intricate designs.
Pros:
- High precision and smooth surface finish.
- Ideal for detailed and complex models.
Cons:
- More expensive than FDM printers.
- Resin handling can be messy and requires safety precautions.
Other Types: SLS, DLP, and More
- SLS (Selective Laser Sintering): Uses a laser to fuse powdered material into solid objects. It’s mostly used in industrial applications and is more expensive.
- DLP (Digital Light Processing): Similar to SLA but uses a digital light projector instead of a laser. DLP printers are fast and produce high-quality prints, though they are also more costly.
Which One Should You Choose?
For beginners, FDM printers are generally the best option. They are cost-effective, easy to use, and supported by a large online community. SLA printers are a good choice if you need high precision and are willing to invest more time and money.
Choosing the Right 3D Printer
Selecting the right 3D printer is a crucial step in your journey. With so many options available, it’s easy to feel overwhelmed. Here’s how to narrow down your choices and find a printer that suits your needs.
1. Determine Your Budget
3D printers range from under £200 to several thousand pounds. As a beginner, it’s wise to start with an affordable model. Budget-friendly options like the Creality Ender 3 or Anycubic i3 Mega offer a good balance of quality and features, making them popular choices for newcomers.
2. Identify Your Use Case
Consider what you plan to create with your 3D printer. Are you interested in printing small models, prototypes, or functional parts? Different printers excel in different areas:
- For general-purpose printing: FDM printers are versatile and can handle most tasks.
- For high-detail models: SLA printers are better suited for intricate designs like miniatures or jewellery.
- For functional, strong parts: Consider a printer capable of using stronger filaments like ABS or PETG.
3. Check Material Compatibility
Not all printers work with every type of filament. FDM printers usually support a wide range of materials, from beginner-friendly PLA to more advanced options like TPU (flexible) and PETG (strong and durable). Ensure that the printer you choose supports the filaments you want to use.
4. Consider Build Volume
Build volume refers to the maximum size of an object a printer can create. If you plan to print large items, ensure the printer has a sufficiently large build area. However, larger build volumes usually come with higher costs.
5. Look for Community and Support
A strong online community can be a lifesaver, especially when you’re just starting out. Popular models like the Creality Ender series have large, active user groups that can provide tips, troubleshooting advice, and custom upgrades.
Recommendations for Beginners
- Creality Ender 3: Affordable, widely supported, and easy to upgrade.
- Anycubic Photon Mono: A great entry-level SLA printer with excellent print quality.
- Prusa i3 MK3S: Slightly more expensive but known for reliability, support, and ease of use.
Once you’re comfortable with your budget, use case, and preferences, you’ll be ready to make an informed decision. Ready for the next step? Let’s move on to setting up your 3D printer.
Setting Up Your 3D Printer
Once you’ve chosen your 3D printer, the next step is setting it up. This can be a bit daunting if you’re new to the process, but with the right guidance, you’ll be ready to start printing in no time.
1. Unboxing and Assembly
Most beginner 3D printers come as kits that require some assembly. Don’t worry; these kits are designed to be user-friendly, even if you have little to no technical experience.
- Read the Manual: Start by thoroughly reading the instruction manual. It might seem tedious, but it will save you time and frustration later on.
- Lay Out All Parts: Before assembling, lay out all the parts and ensure everything is included. This helps you get familiar with the components and makes assembly easier.
- Follow the Steps Carefully: Assemble your printer step by step, following the manual or instructional videos. For popular models, you can often find helpful video tutorials online. For example, the Creality Ender 3 Assembly Guide is a great resource.
2. Leveling the Print Bed
Bed leveling is one of the most important steps in setting up your 3D printer. A properly leveled bed ensures that your prints adhere correctly and are of good quality.
- Manual Leveling: Most budget printers require manual leveling. This involves adjusting the bed’s height at different points to ensure it’s even. A common method is to use a piece of paper to gauge the distance between the nozzle and the bed. This guide on bed leveling offers a detailed walkthrough.
- Auto-Leveling: Some printers come with auto-leveling features that simplify the process. These systems use sensors to measure the bed’s height and make adjustments automatically.
3. Loading the Filament
Next, you’ll need to load the filament into your printer:
- Preheat the Nozzle: Set your printer to preheat the nozzle to the correct temperature for the filament you’re using. For PLA, this is typically around 200°C.
- Insert the Filament: Push the filament into the extruder until you see it start to come out of the nozzle. This ensures it’s properly fed through the printer.
- Check for Smooth Flow: Once the filament is loaded, extrude a small amount to ensure it’s flowing smoothly without any blockages.
4. Calibrating the Printer
Calibration ensures your printer is ready to produce high-quality prints:
- XYZ Calibration: Some printers require you to calibrate the X, Y, and Z axes to ensure the nozzle moves accurately.
- Test Prints: Start with a simple test print, such as a calibration cube, to check if the printer is functioning correctly. This will help you spot any issues with alignment, extrusion, or bed leveling early on.
5. Installing Slicing Software
Before you can start printing, you’ll need to install slicing software. This software converts your 3D model into G-code, the language your printer understands. Popular options include:
- Cura: A free, open-source slicer that’s beginner-friendly and compatible with most 3D printers. Download Cura here.
- PrusaSlicer: Another excellent option, especially if you’re using a Prusa printer. Get PrusaSlicer here.
After installing the software, you’ll need to configure it to match your printer’s specifications. Most printers come with a profile that you can load into the slicer to make this process easier.
Once your 3D printer is set up, you’re almost ready to create your first print! In the next section, we’ll cover the different materials and filaments you can use for 3D printing.
Materials and Filaments

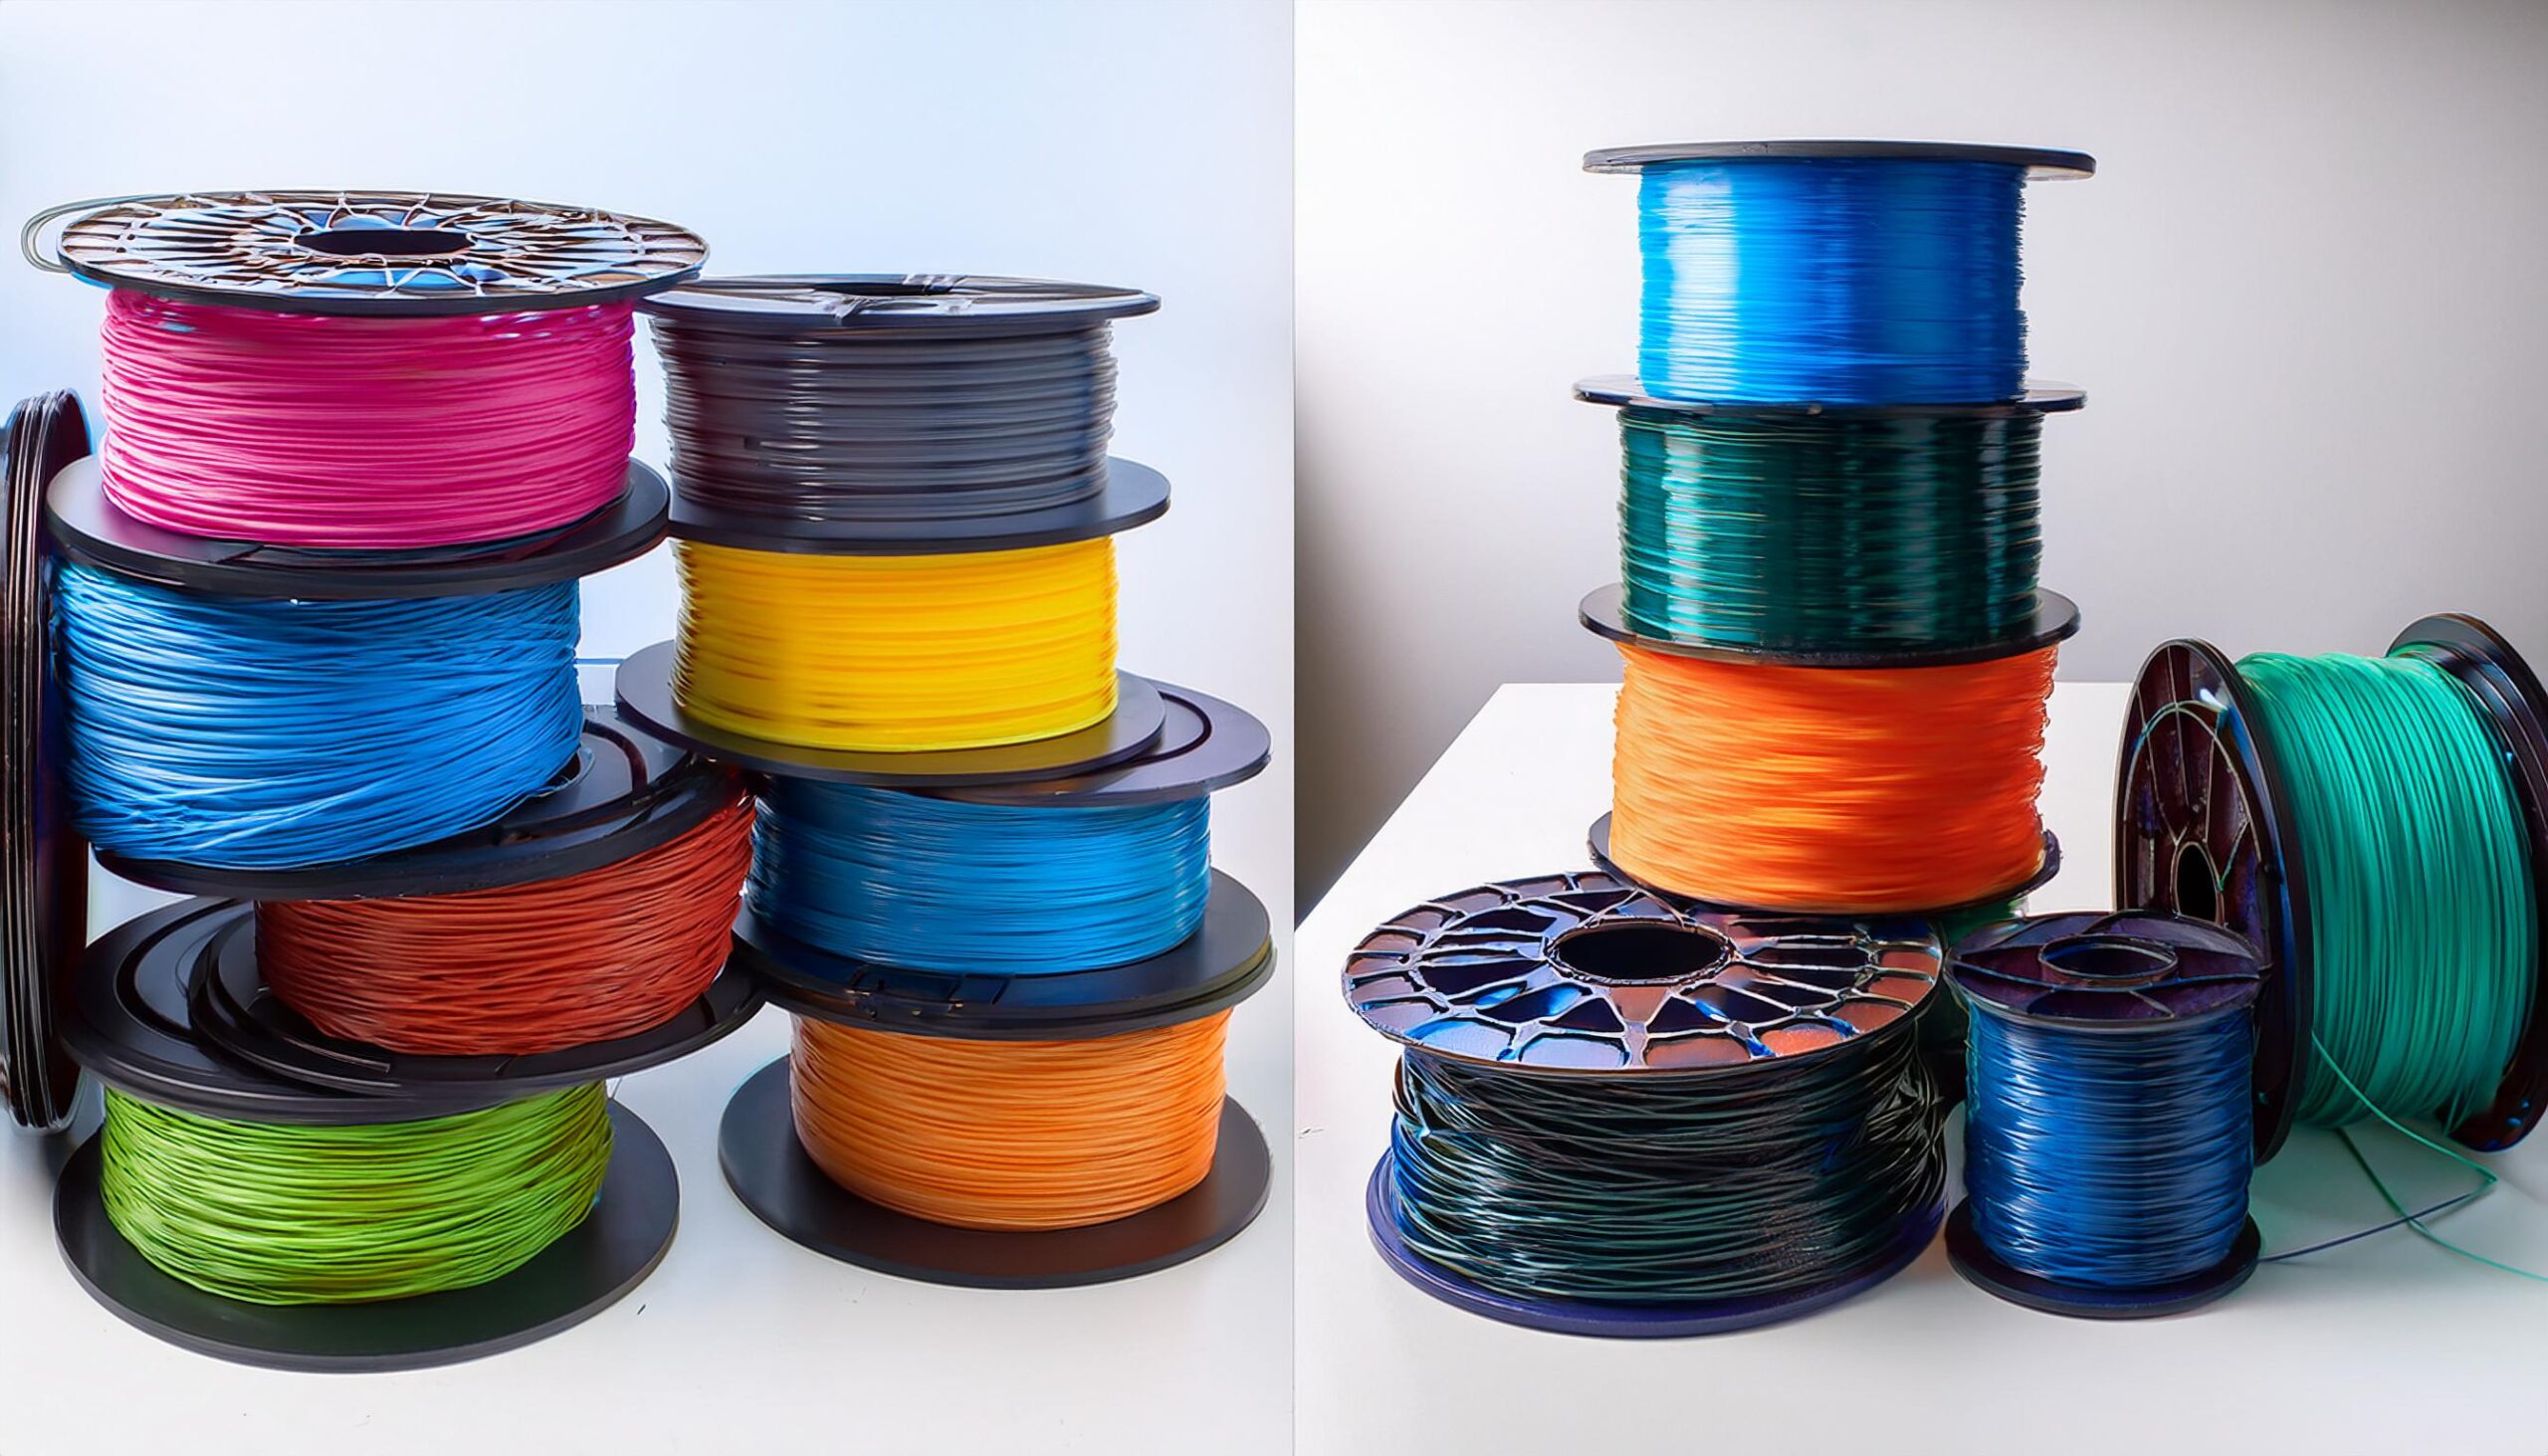
Choosing the right material is key to achieving the results you want from your 3D printer. Different filaments offer different properties, from ease of use to strength and flexibility. Here’s a breakdown of the most common materials you’ll encounter as a beginner.
1. PLA (Polylactic Acid)
PLA is the most popular filament for beginners and for good reason. It’s easy to print with, environmentally friendly, and available in a wide range of colours.
- Pros:
- Low printing temperature (around 180-220°C).
- Minimal warping, making it ideal for beginners.
- Biodegradable and derived from renewable resources.
- Cons:
- Less durable than other materials.
- Not suitable for high-temperature environments (can soften at around 60°C).
Best For: Simple prints, decorative items, and prototypes.
2. ABS (Acrylonitrile Butadiene Styrene)
ABS is a durable, impact-resistant filament commonly used for functional parts and products like phone cases or automotive parts.
- Pros:
- Strong and durable.
- Better resistance to heat compared to PLA.
- Cons:
- Prone to warping, especially on larger prints.
- Requires a heated bed (usually around 90-110°C).
- Emits fumes, so printing in a well-ventilated area is essential.
Best For: Functional parts, products that need durability, and items exposed to higher temperatures.
3. PETG (Polyethylene Terephthalate Glycol-Modified)
PETG combines the ease of printing with PLA and the strength of ABS, making it a versatile choice for various projects.
- Pros:
- Stronger and more durable than PLA.
- Less prone to warping than ABS.
- Good layer adhesion, leading to tough prints.
- Cons:
- Slightly more difficult to print with than PLA.
- Can be stringy if not dialed in correctly.
Best For: Functional parts that need strength and durability, like mechanical components or outdoor items.
4. TPU (Thermoplastic Polyurethane)
TPU is a flexible filament, ideal for creating parts that need to bend or stretch, such as phone cases or wearable items.
- Pros:
- Highly flexible and elastic.
- Durable and resistant to abrasion.
- Cons:
- More challenging to print with due to its flexibility.
- Requires a slower printing speed to prevent clogging.
Best For: Flexible parts, protective gear, and items that need to withstand impact.
5. Specialty Filaments
There are also specialty filaments that offer unique properties, such as:
- Wood Filament: Contains wood fibres, giving prints a wood-like appearance and texture.
- Metal Filament: Mixed with metal particles, providing a metallic finish.
- Carbon Fibre Filament: Infused with carbon fibres for added strength and rigidity.
These materials are more advanced and may require specific printer setups or adjustments. They are best explored once you’re comfortable with the basics.
Choosing the Right Filament
As a beginner, starting with PLA is recommended due to its ease of use. Once you’re comfortable, you can experiment with other materials based on the needs of your projects. Keep in mind the properties of each filament, such as strength, flexibility, and temperature resistance, to choose the right one for your print.
With the right material in hand, you’re ready to move on to your first 3D print. In the next section, we’ll cover some tips to ensure your first print is a success.
Tips for a Successful First Print
Your 3D printer is set up, and you’ve chosen your filament—now it’s time to bring your first creation to life. Here are some essential tips to help ensure your first print is a success.
1. Start with a Simple Model
For your first print, choose a simple, small model that doesn’t require complex supports or intricate details. This will help you get familiar with the printing process without overwhelming you. Websites like Thingiverse offer a vast collection of free, beginner-friendly models to choose from.
2. Proper Bed Leveling
Before hitting “Print,” double-check that your bed is perfectly leveled. This ensures the first layer adheres correctly, which is critical for the success of the entire print. Many failed prints can be traced back to a poorly leveled bed, so it’s worth taking the time to get this right. This guide on leveling your bed can help if you need a refresher.
3. Calibrate Your Printer
Calibration is key to achieving precise prints. Ensure your printer’s X, Y, and Z axes are properly calibrated, and test the extruder’s flow rate to avoid under or over-extrusion. Most slicing software, like Cura, offers calibration tools or settings to help you fine-tune these aspects.
4. Use Supports Wisely
If your model has overhangs or complex geometry, you might need to use supports. Supports are additional structures printed to hold up parts of your model that would otherwise droop or collapse. They’re easily removed after printing, but be mindful of their placement to avoid damaging the final print.
5. Monitor the First Few Layers
The first few layers are the most critical in any 3D print. They set the foundation for the rest of the model, so keep an eye on the print during this stage to ensure everything is going smoothly. If you notice issues like poor adhesion, warping, or gaps, pause the print and make adjustments as needed.
6. Troubleshooting Common Issues

Even with the best preparation, issues can still arise. Here are some common problems and how to fix them:
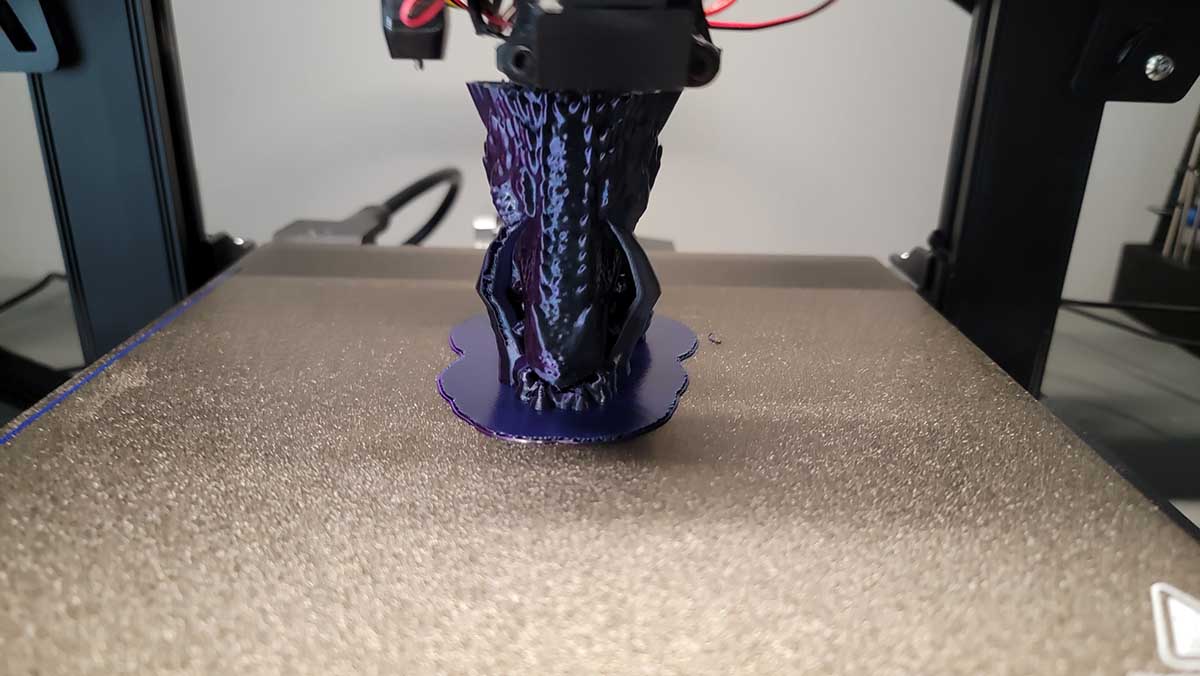
- Warping: If the corners of your print lift off the bed, try increasing the bed temperature or using a brim/raft for better adhesion.
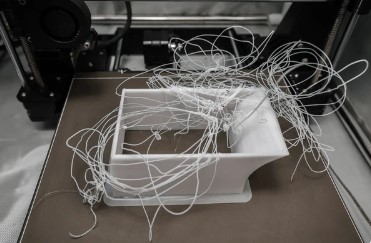
- Stringing: If you see thin threads between parts of your print, reduce the printing temperature slightly or adjust the retraction settings in your slicer.
- Layer Shifting: If the layers of your print don’t align correctly, check the belt tension and ensure the printer is on a stable surface.
7. Post-Processing
After the print is finished, you might need to do some post-processing:
- Removing Supports: Carefully remove any supports using pliers or a craft knife.
- Sanding and Smoothing: If needed, sand the surface of the print to smooth out any rough areas. For PLA prints, you can use a fine-grit sandpaper to achieve a polished finish.
- Painting: If you want to add colour or detail, acrylic paints work well on most 3D printed surfaces.
8. Keep Learning and Experimenting
3D printing is as much about learning from experience as it is about following instructions. Don’t be discouraged if your first few prints aren’t perfect. Experiment with different settings, materials, and models to improve your skills. Join online communities, watch tutorials, and continue to explore new techniques and ideas.
With these tips, you’re well on your way to becoming a proficient 3D printing enthusiast. In the final section, we’ll recap the key points and encourage you to take the next steps in your 3D printing journey.
Conclusion
Getting started with 3D printing might seem daunting at first, but with the right guidance, it’s a journey that’s both exciting and rewarding. You’ve learned the basics of 3D printing, explored different types of printers, and understood how to set up your machine and choose the right materials. With these tips, you’re well-equipped to dive into your first project and bring your ideas to life.
Remember, the key to success in 3D printing is patience and practice. Don’t be afraid to experiment, learn from mistakes, and reach out to the vibrant 3D printing community for support. Whether you’re printing for fun, for functional use, or for starting your own small business, the possibilities are endless.
So, go ahead—download that first model, load up your filament, and hit “Print.” Your 3D printing adventure is just beginning!