/

September 27, 2024

Ultimate Beginner’s Guide to Diode Laser Engraving

A Beginner's Guide to Diode Laser Engraving: Master the Tools, Techniques, and Tips for Precision Crafting

Introduction:

If you’re a hobbyist, crafter, or small business owner, diode laser engraving could be your next big adventure. It’s an ideal choice for creative, personalized projects like custom signs, gifts, or intricate designs on wood, leather, and acrylic. With its precision and versatility, it’s a tool you’ll want in your arsenal. This guide covers everything you need to know about diode laser engraving: the tools you’ll need, basic techniques, and tips to ensure your projects are flawless from start to finish.

What is Diode Laser Engraving?

Understanding the Basics:
Diode laser engraving is a method of using a high-powered light source (the diode laser) to cut or engrave materials with incredible precision. Unlike CO2 or fiber lasers, diode lasers are compact, cost-effective, and perfect for smaller-scale projects, especially for beginners. While CO2 lasers excel with more industrial tasks, and fiber lasers are suited for metalwork, diode lasers are a versatile option that works on a wide range of materials, such as wood, acrylic, and leather. Plus, they offer a great balance between precision and ease of use.    
Why Choose a Diode Laser?
For hobbyists and small business owners, diode lasers offer several benefits. They are relatively affordable compared to CO2 and fiber lasers and are compatible with many common materials. This makes them a fantastic choice for crafters looking to personalize projects or small businesses wanting to experiment with engraving without breaking the bank. Additionally, diode lasers are easy to set up and use, allowing even beginners to dive into creative projects right away.

Essential Tools for Diode Laser Engraving

Diode Laser Engraver Options:

When choosing a diode laser engraver, it’s important to consider factors like power, ease of use, and your budget. Models like the Falcon2 Pro are great for beginners, offering user-friendly interfaces and sufficient power for most engraving tasks. Some models come with additional features like auto-focusing, making them even easier for novices to handle.

Accessories and Setup:

To get started, you’ll need more than just the laser engraver. Protective glasses are a must to safeguard your eyes from the laser beam. You should also consider a ventilation system like the Creality Smoke Purifier to keep your workspace free of harmful fumes. Preparing your materials beforehand is also crucial, and having the right tools like clamps or material preparation kits can make a world of difference in your engraving quality.

Step-by-Step Guide to Using a Diode Laser Engraver

Preparing Your Workspace:

Before you even turn on the engraver, make sure your workspace is clean, well-ventilated, and free of any flammable materials. A flat, stable surface is essential to prevent vibrations that could throw off the precision of your engraver. Also, ensure you have proper lighting and easy access to all necessary tools.

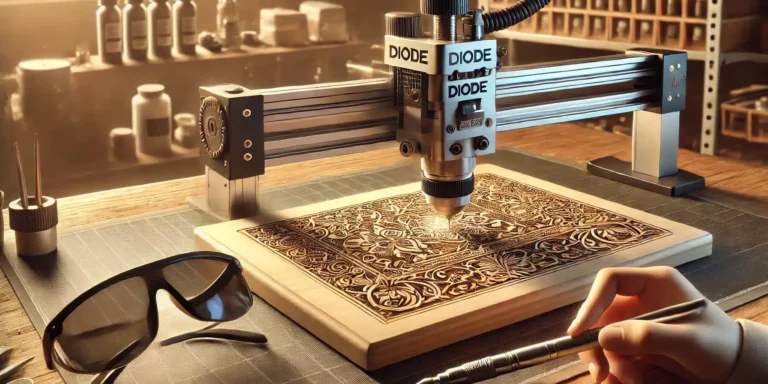
Setting Up the Laser:

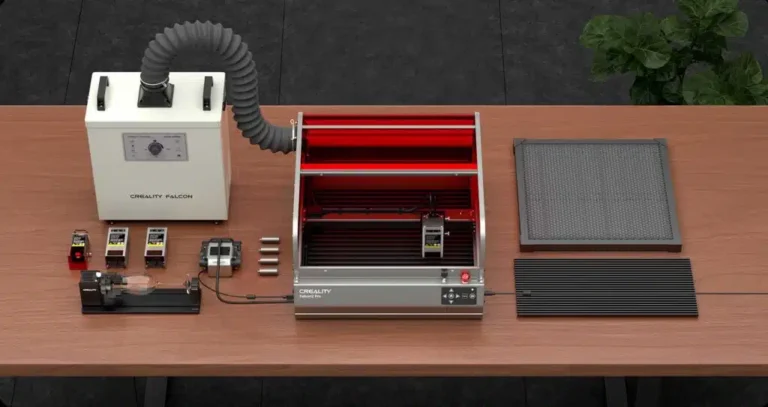
Once your workspace is ready, it’s time to assemble your diode laser. Follow the manufacturer’s instructions carefully, ensuring all components are securely in place. Calibration is key—double-check that the laser is focused correctly on your material for optimal performance.

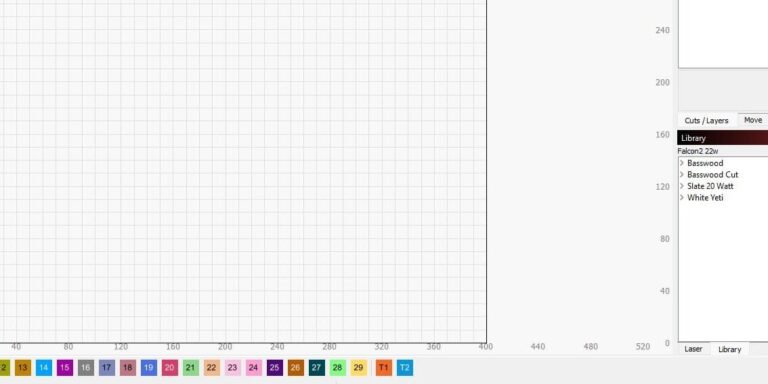
Creating Your First Design:

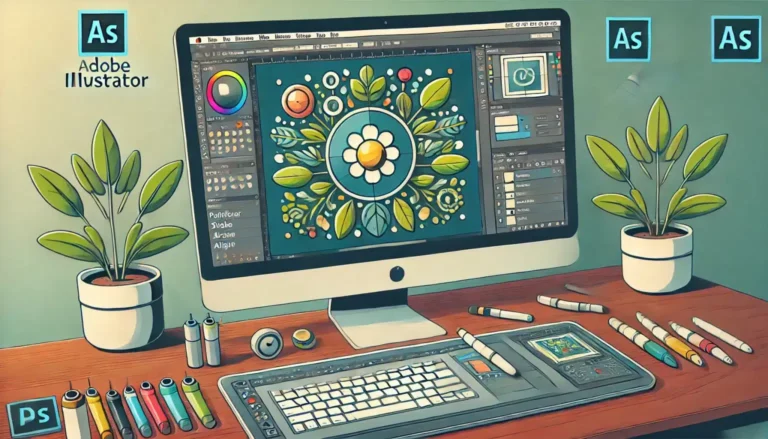
Next, you’ll need beginner-friendly software like LightBurn, LaserGRBL or the new Falcon design space made for the Falon engravers to design your engraving. These programs are intuitive and offer plenty of templates to help get you started. Once your design is ready, upload it to the laser engraver, and you’re set to begin your first project!

Choosing Engraving Settings:

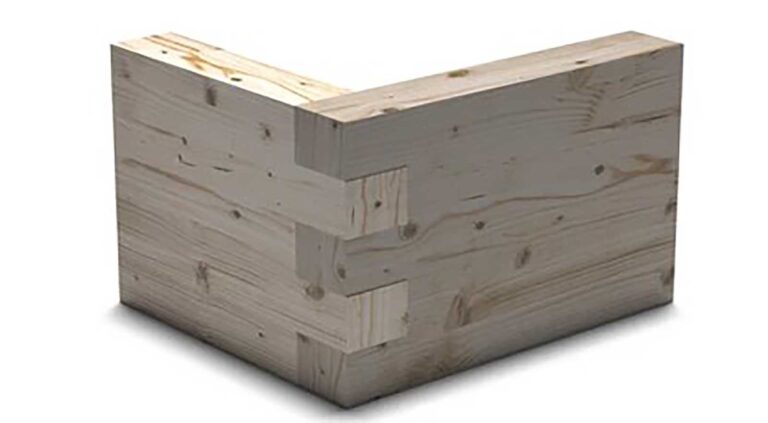
Different materials require different settings. Pay close attention to speed, power, and the number of passes your laser makes over the material. Wood, for instance, may need lower speeds and higher power for deep engravings, while acrylic might require fewer passes and a gentler touch. Always run your material test.

Engraving and Finishing Your Project:

After running the engraver, inspect your project closely. Clean engravings usually need little post-processing, but sometimes small adjustments, like sanding edges or wiping away burn marks, will give it that polished look. If you run into issues like incomplete cuts or burns, tweak your speed or power settings.

Top Materials for Diode Laser Engraving

What Materials Work Best?

Some of the most popular materials for diode laser engraving include wood, leather, and some color acrylics. Wood is particularly beginner-friendly because it’s easy to work with and produces high-contrast results. Leather adds a unique, rustic touch to projects, while acrylic offers modern, sleek finishes that are ideal for signage and decorative items.

Pro Tips for Material Prep:

Before engraving, proper material preparation can make all the difference. For wood projects, sanding the surface can result in cleaner engravings. Masking tape is another useful trick—it helps prevent burn marks, especially on lighter materials like birch or pine.

Safety First: Laser Engraving Safety Tips

Safety Precautions:

Engraving might seem harmless, but without the right precautions, it can be risky. Always wear protective glasses designed for your specific laser wavelength. Adequate ventilation is crucial to avoid inhaling fumes, especially when working with materials like acrylic or leather, which can release toxic fumes when cut.

Check Here for more Safety Tips

Protect Your Work Area:

Your work area should be fireproof. Consider using a fire-retardant mat under your work surface and always keep a fire extinguisher nearby. A clean workspace, free from clutter, reduces the risk of accidents, and supervision is recommended, especially if others are around.

Common Techniques for Diode Laser Engraving

Vector vs. Raster Engraving:

When it comes to laser engraving, you have two main options: vector and raster engraving. Vector engraving traces the outline of a design, creating clean, precise cuts. Raster engraving, on the other hand, fills in an entire area of the design, much like how a printer works.

Advanced Engraving Methods:

Once you’ve mastered the basics, try experimenting with advanced techniques like multi-layered engraving to add depth to your projects. You can also try engraving on curved surfaces, though this requires a bit more skill and setup.

Pro Tips for Diode Laser Engraving Success

Experiment with Settings:

Every material is different, so don’t be afraid to experiment. Try various combinations of speed and power to find what works best for your specific project. Keep a journal to note what settings work best for each material so you can easily replicate successful projects.

Keep Your Laser in Top Condition:

Maintenance is crucial for keeping your engraver in peak performance. Regularly clean the laser lens and ensure the software is up to date. Checking your machine’s calibration before every project will also help maintain engraving accuracy.

Recommended Projects for Beginners

Start Simple:

If you’re new to diode laser engraving, start with simple projects like keychains, coasters, or basic wall art. These items are easy to make and will help you get comfortable with your machine.

Personalization is Key:

Once you’ve got the hang of things, try personalizing items like gifts or signs. Personalized projects not only enhance your skills but can also make for excellent products if you’re running a small business.

Final Thoughts: Mastering Diode Laser Engraving

Mastering diode laser engraving takes practice, but the rewards are endless. As you continue to experiment and grow your skills, you’ll be able to tackle more complex projects and materials. Don’t forget to connect with laser engraving communities online where you can share your creations, ask for tips, and get inspired by others.