Introduction
Welcome to the ultimate guide on assembling and setting up your Creality Falcon2 Pro! Whether you’re a seasoned 3D printing enthusiast or new to the exciting world of additive manufacturing, getting your new machine up and running efficiently is crucial. This machine promises precision, power, and ease of use, making it a top contender for hobbyists and professionals alike. In this review, we’ll walk you through everything—from unboxing to initial test projects. This guide will walk you through every step of the assembly and setup process, providing detailed instructions, tips, and tricks to ensure a smooth start.
The Creality Falcon2 Pro is renowned for its impressive printing capabilities and reliability, but like any sophisticated tool, proper assembly and calibration are key to achieving the best results. By following this guide, you’ll be well-equipped to maximize your printer’s performance from the get-go. So, let’s dive in and start the journey of bringing your Creality Falcon2 Pro to life!
Unboxing the Falcon 2 Pro: First Impressions
Creality is known for packing their machines securely, and the Falcon 2 Pro is no exception. The engraver arrived well-protected with foam inserts and heavy-duty cardboard corners. When investing in a piece of machinery like this, good packaging is always a relief—it means there’s less chance of damage during shipping.
The first thing that caught my attention was that the main frame came pre-assembled. This is a big plus, especially for those of us who dread lengthy setups. Without needing to fiddle with belts or other mechanical components, I knew getting started would be a breeze.
Preparing for Your Creality Falcon2 Pro Assembly
Before you start the assembly of your Creality Falcon2 Pro, it’s important to prepare adequately to ensure a smooth process. Here’s how to get ready:
What’s in the Box? (Inventory Checklist)
Upon receiving your Creality Falcon2 Pro, the first step is to ensure that all parts are accounted for. Here’s a checklist of what should be included in the box:
- Main printer frame and gantry
- Extruder assembly
- Assorted screws and bolts
- Power supply and cables
- SD card
- Tool set for assembly (Allen wrenches, screwdriver)
- User manual
Take your time to verify each item against the packing list. If anything is missing or damaged, contact Creality customer service before proceeding.
Required Tools and Space Setup
To assemble your printer, you will need a clear workspace, ideally a sturdy table or bench. While the included tool set should suffice, having a few extras on hand can make the process easier:
- A set of metric hex wrenches
- A Phillips head screwdriver
- A pair of pliers
- A level
Arrange your tools and components so everything is easily accessible. This will help keep the assembly process organized and efficient.
Safety Precautions and Tips Before You Start
Safety is paramount when assembling any electrical device, including a 3D printer. Keep these safety tips in mind:
- Ensure your assembly area is well-lit and free of clutter.
- Keep small parts and tools away from young children and pets.
- Be aware of any sharp edges on metal parts or tools.
- Do not plug in the power supply until the assembly is complete and you are ready for the initial testing.
- Familiarize yourself with the emergency stop function of your engraver (if available).
By following these preparatory steps, you’ll set a solid foundation for a successful and safe assembly of your Creality Falcon2 Pro.
Assembling the Cover: A Bit of a Puzzle
Now, let’s talk about putting together the cover. I moved the main frame aside to start assembling the cover frame, which required attaching the left and right sides to the top support bar. This part was straightforward, especially since the top bar has a built-in camera—a feature I was eager to test later.
However, sliding the red transparent film into the frame? That was tricky. The film had a mind of its own, popping out just when I thought I had it in place.
After a little patience (and a few deep breaths), I set the cover assembly aside and moved on to the laser module.
Installing the Laser Module and Cabling
Setting up the laser module was refreshingly easy. The instructions were clear, and routing the cables and air hose was a simple task.
Final Assembly: Customization Options
One of the features that really impressed me was the flexibility of the side panels. The engineers at Creality designed the side panels so that you can choose where to place the exhaust fan. Want the fan on the right? Go for it. Prefer it on the left? No problem. I opted for the fan to exhaust on the left side, but I appreciated the thoughtfulness of this design feature.
Once the cover was securely attached to the main frame, everything felt solid. And all that hassle with the red film? Totally worth it—once the cover is fully assembled, it functions beautifully, providing both protection and visibility.
Powering Up and Connecting to LightBurn
With the machine fully assembled, it was time to plug everything in. On the left side, I connected the air hose and power cable for the air pump, while the right side handled the main power cord and USB connection to my computer.
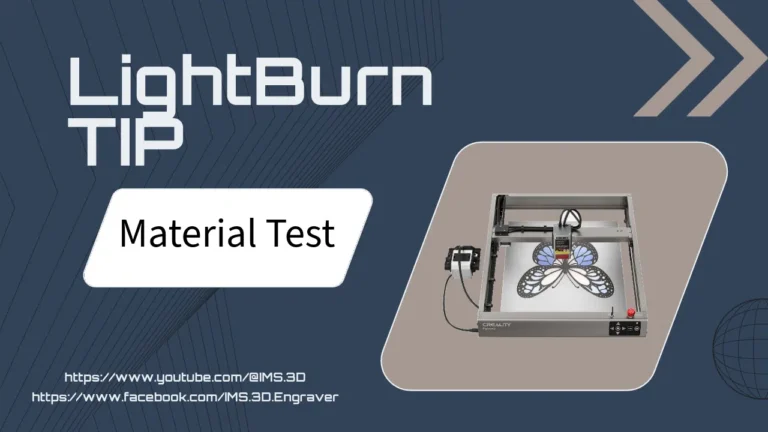
The Creality Falcon 2 Pro is compatible with LightBurn, a popular software for laser engraving and cutting. Setting up the machine in LightBurn was a walk in the park. I selected the GRBL option, input the dimensions (400mm x 415mm), and set the origin to the front-left corner. From there, it was smooth sailing, and the software immediately recognized the engraver.
Test Project: Cutting and Engraving
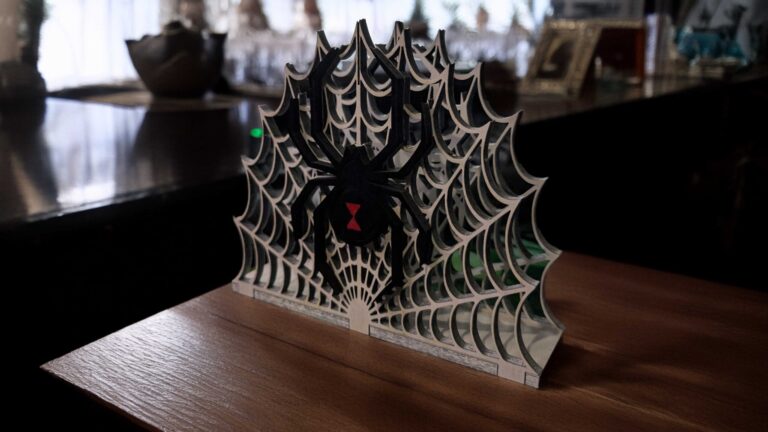
For the first test, I found a simple black-and-white image of a four-leaf clover. Using LightBurn’s trace feature, I converted the image into a cuttable design and selected a piece of 5mm plywood. The Falcon 2 Pro performed like a champ, cutting through the plywood cleanly and efficiently.
Next, I tried my hand at engraving the same image. Initially, I had the power turned up too high, resulting in a less-than-stellar engraving. After adjusting the settings and lowering the power, the second attempt came out much better. It’s clear this machine has the ability to produce high-quality engravings once you dial in the right settings.
Standout Features and Final Thoughts
While I encountered some minor frustrations during assembly, my overall experience with the Falcon 2 Pro has been overwhelmingly positive. A few standout features deserve special mention:
- Safety Mechanisms: The machine has built-in safety features, like automatically stopping if the cover is lifted mid-operation. This is great if you’ve got curious kids around or just want that extra peace of mind.
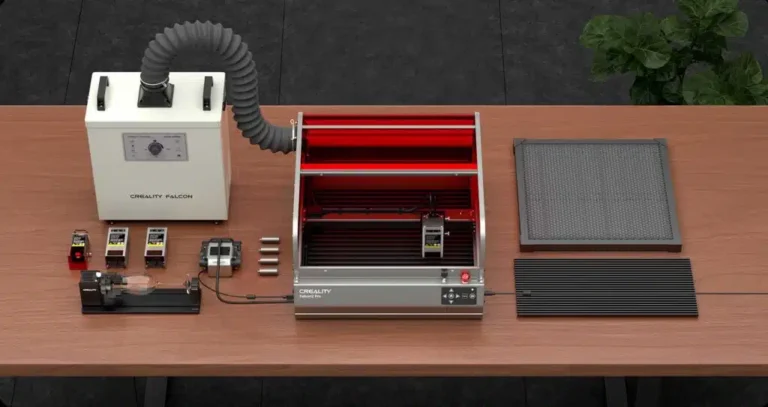
- Air and Smoke Management: The included fan does an excellent job of clearing smoke, and while the machine comes with a 3-inch hose, I plan on upgrading to a 4-inch inline fan for even better exhaust performance.
- Easy Maintenance: The aluminum slats and cleaning drawer make it easy to manage debris, especially when working with small pieces that may fall through the grid.
In terms of performance, the Falcon 2 Pro has already exceeded my expectations, and I’ve only scratched the surface. Whether you’re cutting or engraving, this machine delivers precise results, and the flexibility it offers makes it perfect for a variety of projects.
FAQs
Q: Is the Falcon 2 Pro easy to assemble?
A: Yes, the main frame comes pre-assembled, so it’s mostly about attaching the cover and setting up the laser module.
Q: Can beginners use the Falcon 2 Pro?
A: Absolutely! While it’s a powerful machine, the setup process is user-friendly, and the included instructions are easy to follow.
Q: Is LightBurn the best software for this machine?
A: LightBurn is a popular choice, but other software options may work too. LightBurn’s interface and features make it a great fit for most users.
Q: Does the machine come with safety features?
A: Yes! It has multiple safety features, like stopping the laser when the cover is lifted and a key switch to turn on the laser.
Wrapping Up
Overall, the Creality Falcon 2 Pro 22W is a fantastic laser engraver for anyone looking to up their game in the world of laser cutting and engraving. With its solid construction, smart design features, and impressive performance, it’s definitely worth the investment. Stay tuned for more projects and tutorials using this machine—there’s plenty more to explore!
If you’re considering purchasing the Falcon 2 Pro, I’ve got a discount code and links to their website in the description below. Until next time, happy engraving!