The holiday season is a time of warmth, cheer, and personal touches, making it the perfect opportunity to explore Christmas-themed laser engraving projects. Whether you’re looking to create one-of-a-kind gifts or add a festive touch to your home decor, laser engraving offers a unique way to make your holiday celebrations even more special. In this blog post, we’ll dive into the basics of laser engraving, offer a plethora of creative project ideas, and guide you through your first DIY Christmas engraving project. From selecting the right materials to the final presentation of your gift, we’ll cover all you need to know to bring your festive visions to life.
Â
Getting Started with Christmas-Themed Laser Engraving

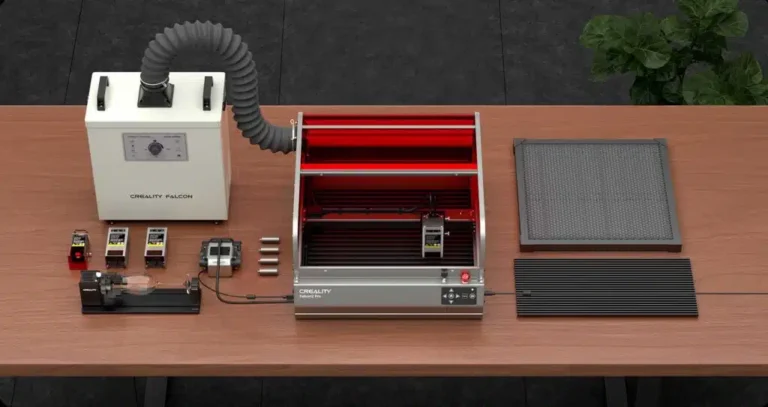
Understanding Laser Engraving Basics
Laser engraving is a precise and versatile method to etch designs into various materials using a high-powered laser beam. The process involves directing this laser over the surface of your material, where it removes a portion of it to create a design visible and tangible. Suitable for both beginners and seasoned crafters, laser engraving allows for high levels of customization and precision, making it ideal for detailed holiday motifs.
For those new to this technology, it’s important to differentiate between the types of laser engravers:
- CO2 Lasers: Best for organic materials like wood, paper, and leather.
- Fiber Lasers: Ideal for metals and plastics.
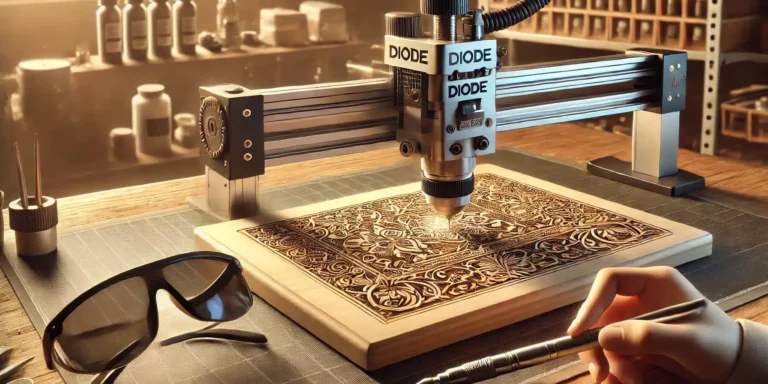
- Diode Lasers: A versatile, budget-friendly option suitable for a variety of materials.
Materials You Can Use for Christmas Engravings
Choosing the right material is crucial for your project’s success, especially when considering the desired outcome and the capabilities of your laser engraver. Here are some popular choices:
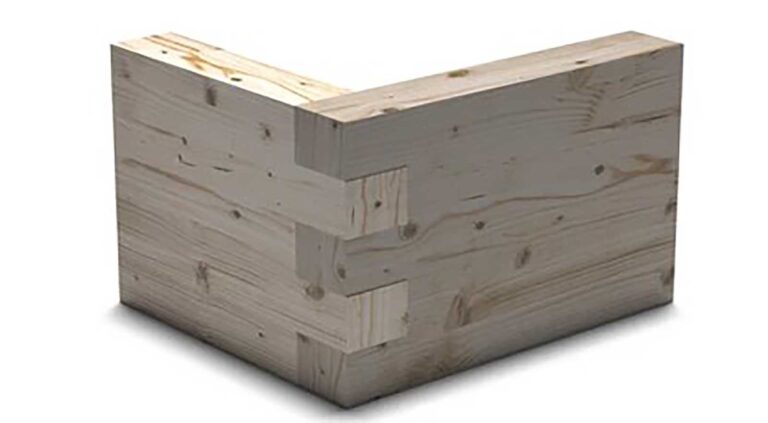
- Wood: Highly popular for its natural look and ease of engraving. Perfect for ornaments, plaques, and other decor.
- Acrylic: Offers a sleek, glass-like finish that looks stunning with illuminated designs.
- Metal: Ideal for more durable items like personalized metal gift tags and decorative pieces.
When selecting materials, consider the thickness, color, and how the finished piece will be used. Some materials, like thinner woods or acrylics, can warp or discolor if the wrong laser settings are used.

Festive Laser Engraving Ideas
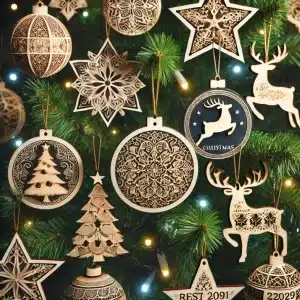
Personalized Christmas Ornaments
Creating personalized Christmas ornaments is a delightful way to add a personal touch to the holiday season. You can laser engrave names, dates, or special messages onto wooden or acrylic ornaments. Here are some design ideas to consider:
- Snowflakes: Each one unique, intricate snowflake designs can be stunning when hung against the light.
- Family Names: Add a family name and year to commemorate special holidays together.
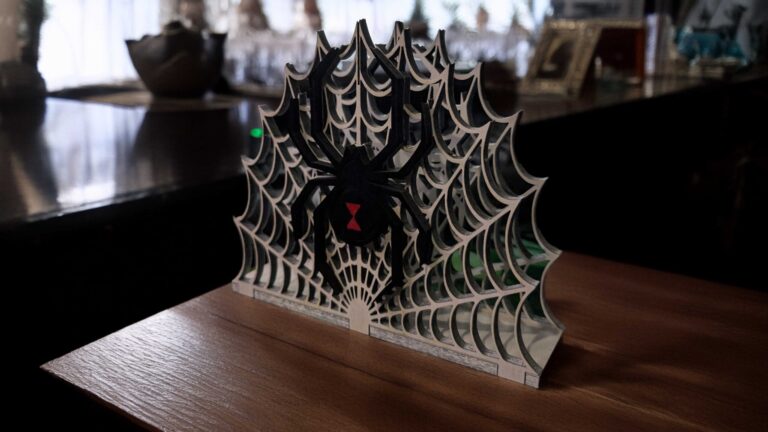
- Festive Icons: Christmas trees, stars, and reindeer motifs are always popular and add a classic touch to any tree.

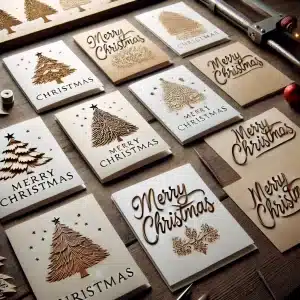
Customized Christmas Cards
Move beyond traditional paper cards by engraving your holiday greetings onto thin wood or acrylic. These cards not only stand out but also serve as keepsakes. Here are a few tips for designing laser-engraved cards:
- Contrasting Colors: Use lighter woods for deeper engraving to make the text stand out.
- Minimalist Designs: Simple lines and clear text work best, as too much detail can be difficult to read.
Festive Home Decor
Laser-engraved home decor can transform your living space into a festive wonderland. Consider these ideas:
- Table Centerpieces: Engrave a detailed Christmas scene or a simple message on a piece of wood or acrylic to add charm to your holiday table.
- Wall Art: Create large, engraved panels with winter scenes or quotes to celebrate the season.
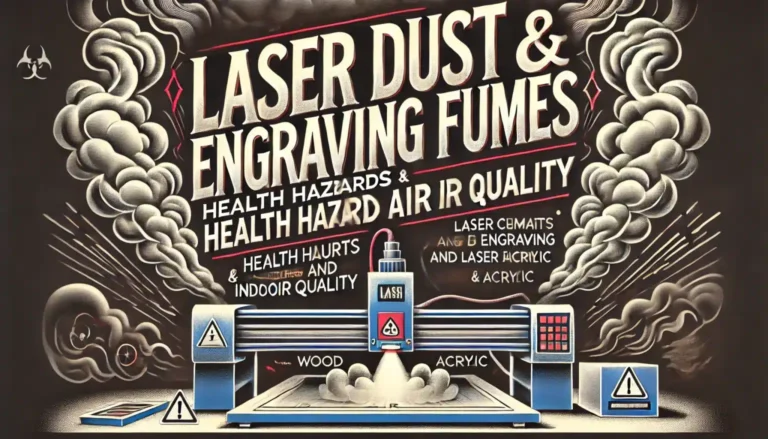
Safety Tips: Always ensure that the materials used are safe to be cut or engraved with your specific type of laser, and maintain proper ventilation, especially when working with plastics or coated metals, to avoid any toxic fumes.
Advanced Christmas Engraving Techniques
Multi-material Engraving
For those looking to take their Christmas projects up a notch, combining different materials in a single project can create stunning effects. Here are some ideas:
- Wood and Acrylic: Use the contrast between the organic warmth of wood and the sleek shine of acrylic to highlight different elements of your design.
- Metal and Leather: Engrave a metallic piece to attach to a leather backdrop for a luxurious look, perfect for high-end gifts like personalized wallets or journal covers.
Incorporating Color into Your Engravings
While traditional laser engraving leaves a monochrome finish, adding color can bring a vibrant life to your designs. Here’s how you can add colors to your engravings:
- Paint Filling: After engraving your design into wood or acrylic, use thin paints or dyes to fill in the engraved areas. This technique is especially effective for emphasizing small details.
- Colored Acrylics: Use pre-colored acrylics to create depth and interest without additional painting steps.
Technique Tips:
- Test Your Settings: Always test your color filling techniques on scrap pieces to ensure that the paint adheres well and the colors appear as expected.
- Sealing: To protect your finished project, especially if using paint filling on wood, apply a clear sealant to prevent the paint from chipping or fading over time.
Step-by-Step Guide to Your First Christmas Engraving Project
Designing Your Project
The first step in any laser engraving project is creating a design that translates your Christmas theme into a tangible piece. Here are the essentials for designing your project:
- Software Tools: Use design software like Adobe Illustrator, CorelDRAW, or free tools like Inkscape to create your artwork. Ensure your design is vector-based for clean, precise cuts.
- Choosing a Design: Opt for simple yet festive elements such as holiday greetings, snowflakes, or custom typography that reflects the holiday spirit.
Preparing Your Laser Engraver
Setting up your laser engraver correctly is crucial for achieving the best results. Here’s how to prepare:
- Material Setup: Secure your material (wood, acrylic, etc.) on the engraving table and ensure it’s perfectly flat to avoid any inconsistencies during the engraving process.
- Focus the Laser: Adjust the laser’s focus to the thickness of your material. An improperly focused laser can lead to blurry engravings.
The Engraving Process
Now that your design is ready and your machine is set up, it’s time to start the actual engraving:
- Running a Test: Always perform a test run on a similar scrap piece of material to adjust the speed and power settings of your laser. This helps prevent burning or under-engraving.
- Engraving the Final Piece: Once satisfied with the settings, proceed to engrave your final piece. Watch the first pass to ensure the design is aligning correctly.
Troubleshooting Common Issues
- Material Burning: If the laser burns the material, reduce the power or increase the speed of the laser.
- Faint Engraving: If the engraving is too light, increase the power or slow down the speed.
Wrapping and Presenting Laser-Engraved Gifts
Creative Wrapping Ideas
The presentation of your laser-engraved gifts can be just as impactful as the gift itself. Here are some creative ways to wrap your creations:
- Eco-Friendly Materials: Use recycled paper, fabric, or reusable decorative boxes for an eco-conscious touch.
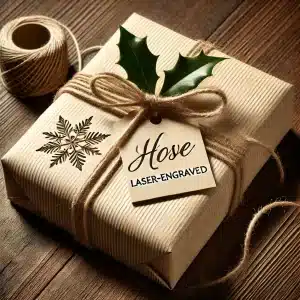
- Custom Tags: Include a small laser-engraved tag with the recipient’s name or a holiday message.
- Ribbon and Twine: Add ribbons or twine for a rustic or elegant finish, depending on the style of your gift.
Adding Finishing Touches
The final touches on your gift can make a big difference. Here’s how you can enhance the presentation:
- Sealing Wax: Use sealing wax to secure the wrapping with a traditional and luxurious feel.
- Decorative Elements: Consider adding sprigs of holly, cinnamon sticks, or dried orange slices for a festive and aromatic appeal.
Presentation Tips:
- Layer Textures: Combining different textures in your wrapping can add depth and interest.
- Color Coordination: Match the colors of your wrapping materials with the colors used in your engraving for a cohesive look.
Maintaining Your Laser Engraver During the Holiday Season
Routine Maintenance Tips
During the busy holiday season, keeping your laser engraver in optimal condition is essential to avoid any disruptions in your project timeline. Here are some maintenance tips to ensure your machine runs smoothly:
- Clean Regularly: After each project, clean the laser’s lenses and mirrors to remove any debris or residues that could affect the laser’s performance.
- Check Alignment: Periodically check the alignment of the laser beam. Misalignment can cause uneven engraving and can be more pronounced with increased use.
- Lubricate Moving Parts: Apply lubricant to the rails and bearings to ensure smooth motion and prevent wear and tear.
Handling Common Technical Problems
Despite regular maintenance, technical issues can still arise. Here’s how to handle some common problems:
- Overheating: If your laser engraver begins to overheat, pause your work and let the machine cool down. Ensure that your work area is well-ventilated to prevent future overheating.
- Software Issues: Keep your engraving software updated and backed up. If glitches occur, restarting the software or reinstalling it can often resolve the issue.
When to Seek Professional Help
- Persistent Problems: If you encounter consistent issues that you cannot resolve through troubleshooting, it may be time to consult with a professional technician.
- Upgrades and Part Replacements: Professional services can also help with upgrades or replacing parts that are beyond typical DIY maintenance.
Maintaining your laser engraver ensures that it remains a reliable tool throughout the holiday season, helping you create beautiful, personalized gifts without interruption.
Â
Conclusion
In this detailed guide, we’ve explored the enchanting world of Christmas-themed laser engraving projects, providing you with the knowledge and inspiration needed to create personalized gifts and festive decorations. From understanding the basics of laser engraving to mastering advanced techniques and presentation tips, this journey offers a pathway to not only enhance your creative skills but also to add a personal touch to your holiday celebrations.
Laser engraving allows you to transform simple materials into intricate designs that capture the spirit of Christmas. Whether you’re crafting ornaments, designing unique cards, or adding flair to your home decor, the possibilities are limitless. We encourage you to use this guide as a starting point for your projects and to let your creativity shine.
Call to Action
We’d love to see what you create! Share your Christmas-themed laser engraving projects with us in the comments or on social media. If you have any questions or need further guidance, don’t hesitate to reach out. Your feedback helps us improve and continue providing valuable content.
Happy engraving, and may your holidays be merry and bright!
Â