Hey, everyone! Today, I’ve got a neat little tip for LightBurn users who work with finger joints in laser-cut projects. Whether you’re creating boxes, frames, or custom structures, getting finger joints to fit snugly can be a hassle, especially if you need to change the material thickness. Thankfully, LightBurn has a fantastic built-in feature that makes resizing finger joints super quick and easy.
In this guide, I’ll walk you through using the Resize Slots tool in LightBurn to adjust finger joints for different thicknesses. Follow along, and you’ll soon be able to modify joint sizes without redoing your entire design!
Why Adjusting Finger Joints in LightBurn Matters
Finger joints are a popular choice for creating strong, interlocking connections in laser-cut projects. However, they need to be precisely sized to match the material thickness you’re working with. If your joints are too loose or tight, your pieces won’t fit properly, leading to structural issues or extra sanding and adjustments.
LightBurn’s Resize Slots feature simplifies this process, allowing you to quickly scale finger joints up or down depending on the material thickness. This is a lifesaver for makers who frequently switch between materials of different sizes, from 3mm acrylic to 6mm wood.
Step-by-Step Guide: How to Resize Finger Joints in LightBurn
Here’s a straightforward, step-by-step guide on how to use LightBurn’s Resize Slots tool to adjust finger joints.
Step 1: Import Your Finger Joint Design
- Open LightBurn and load the project that has finger joints you want to adjust.
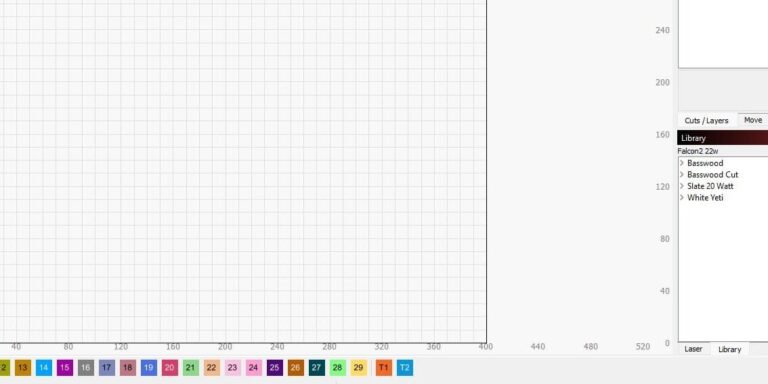
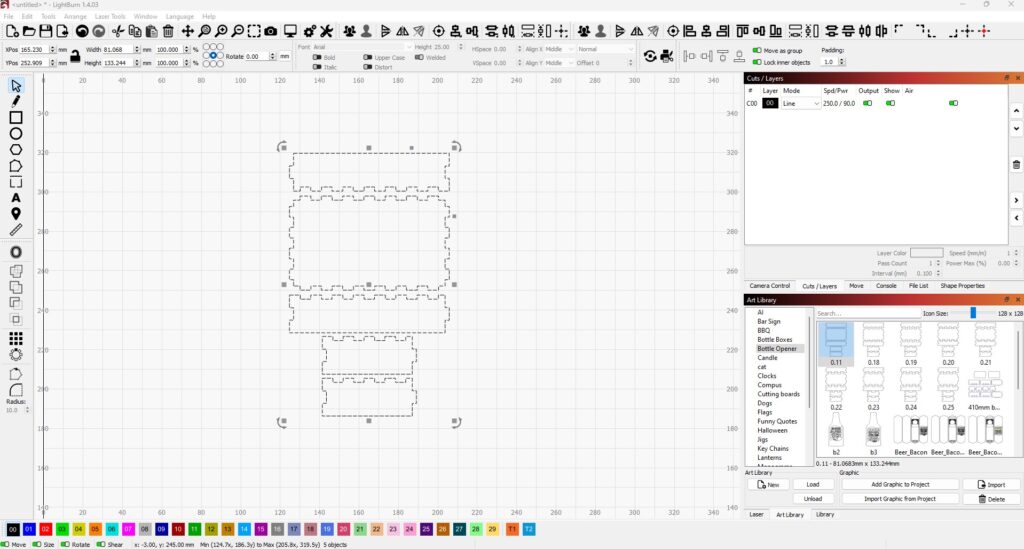
- Head over to the Art Library in LightBurn. This is where you can store and access your designs. Select a design that includes finger joints and bring it into your workspace.
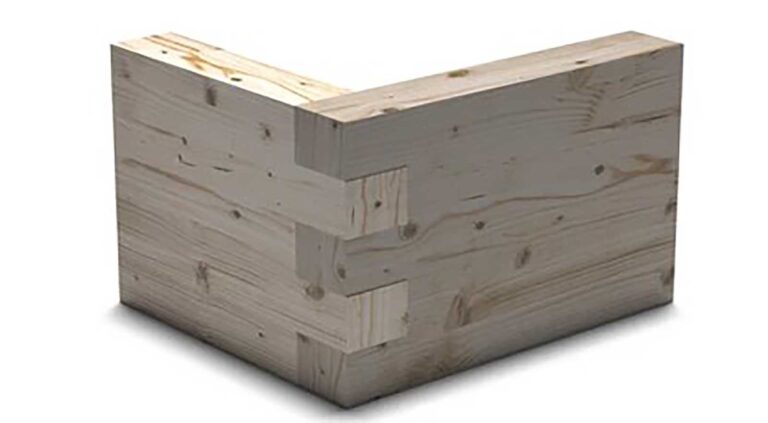
- Arrange the pieces so you can clearly see the joints. This will make the resizing process easier.
Step 2: Measure the Current Slot Size
- Select the Design – Click on one of the pieces with finger joints.
- Use the Measurement Tool – With the piece highlighted, grab the Measure Tool from the toolbar.
- Check the Slot Width – Measure one of the finger joints to see its current width. In this example, let’s say it measures 3.81mm.
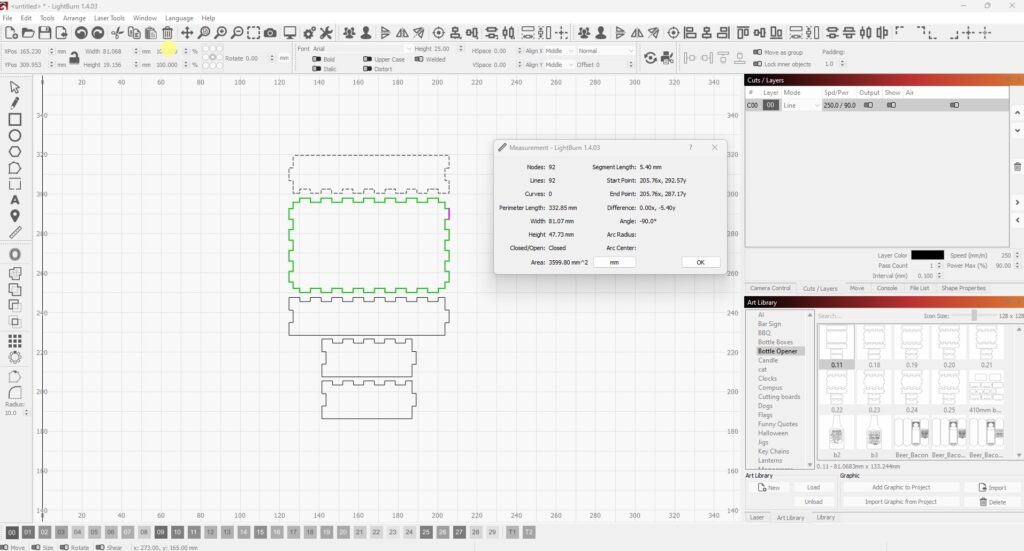
Knowing the original slot width is crucial because LightBurn will use this information to identify which parts need resizing.
Step 3: Use the Resize Slots Tool
- Select the Piece with Finger Joints – Highlight the piece you want to resize.
- Go to Tools > Resize Slots – Navigate to the Tools menu and select Resize Slots. This feature allows you to adjust the slot dimensions based on your new material thickness.
- Enter the Original and New Thickness – A dialog box will appear. Type in the original material thickness (in our example, 3.81mm) and the desired new thickness (let’s say 6mm).
- Choose Slot Depth or Tab Height – If you’re adjusting the output tabs, select Tab Height. This ensures that the tabs fit the way you want them to.
- Click OK – LightBurn will automatically adjust all the slots in the selected piece to match the new material thickness.
Step 4: Verify the Adjustment
- Measure Again – Use the Measurement Tool to double-check the new width of the finger joint slots. If everything’s correct, it should now read 6mm.
- Repeat for Additional Pieces – If you have other pieces in the design that need resizing, repeat the same steps. This will ensure all your finger joints align perfectly for easy assembly.
Tips for Using the Resize Slots Tool Effectively
Here are a few additional tips to help you get the most out of the Resize Slots tool in LightBurn:
- Always Measure Twice: Before resizing, double-check the measurements of both the original and new slot widths. Accurate measurements will save you from needing to make further adjustments.
- Experiment with Test Cuts: When working with new materials, consider making a quick test cut. This helps confirm that the adjusted joints fit precisely before you start cutting your full design.
- Utilize the Art Library: Save frequently used finger joint templates to your Art Library in LightBurn. This can streamline your workflow by letting you easily import pre-made joints that can be resized as needed.
Why the Resize Slots Feature is a Game-Changer
The Resize Slots feature in LightBurn isn’t just a convenience—it’s a huge time-saver. For those who regularly switch between materials of varying thicknesses, this feature eliminates the need for manually adjusting each finger joint. By automating this process, LightBurn helps you achieve perfect fits and stronger joints with minimal effort.
In addition, this feature can also prevent material waste. If you realize mid-project that you need to switch from 3mm to 6mm wood, for example, you can easily adjust the joints without starting from scratch. Less waste, less time, and more precise projects.
Final Thoughts
LightBurn continues to add tools that make laser cutting accessible and efficient. The Resize Slots tool is an excellent example of how technology can simplify even the most intricate tasks, like resizing finger joints. With just a few clicks, you can adapt your designs to different materials, ensuring strong, clean joints every time.
So, next time you’re working on a laser-cut project, give this feature a try. You’ll be surprised at how much easier it makes your workflow!
FAQ
Q: Can I resize finger joints for any thickness in LightBurn?
A: Yes, you can use the Resize Slots tool to adjust finger joints for virtually any thickness. Just measure the original slot size and input your desired thickness.
Q: Does LightBurn automatically calculate slot depth?
A: Yes, if you input the original and new material thicknesses, LightBurn adjusts the slot dimensions accordingly. You can also choose between adjusting the slot depth or the tab height.
Q: Do I need to use the Measure Tool every time?
A: It’s a good idea to measure before and after resizing to ensure accuracy. The Measure Tool gives you precise dimensions for a seamless fit.
Q: Is the Resize Slots tool available in all versions of LightBurn?
A: As of the latest updates, yes! Make sure you’re using an up-to-date version of LightBurn to access this feature.